How to Save and Retrieve Images in the Photo Library (Swift)
In this article, we will explain how to save and retrieve image files in the Photo Library using Swift.
Previously, in How to Take a Photo with the Camera, we built an app where tapping the "Take Photo" button launched the camera, captured a photo, and displayed it on the screen.
This time, we will extend that app by adding three buttons: Save to Photo Library, Clear Photo, and Select from Photo Library. These buttons will let us save and retrieve images from the Photo Library.
Add Buttons and Actions to the iOS App
First, let's add the three buttons to the iOS app that takes photos with the camera, and set up actions for them.
If you haven't yet built the iOS app to take photos, please refer to How to Take a Photo with the Camera first.
Open the project, and under the Take Photo button in the Main storyboard's View Controller, add three buttons: Save to Photo Library, Clear Photo, and Select from Photo Library.
You can place them in a Stack View or anywhere you like; layout and color are not important for this tutorial.
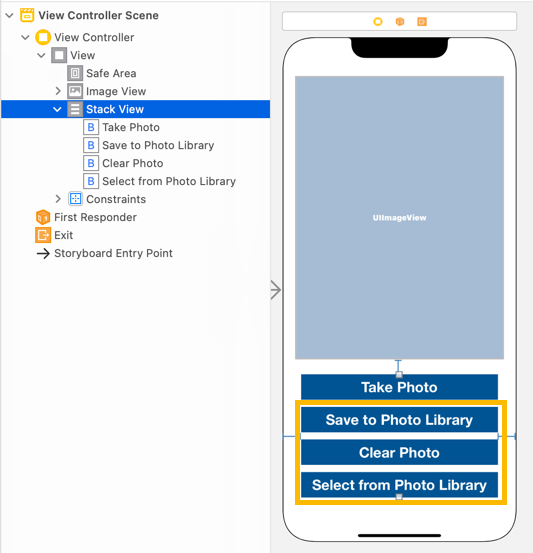
Connect these buttons to actions named saveToPhotoLibraryTapped, clearPhotoTapped, and selectFromPhotoLibraryTapped using TouchUpInside.
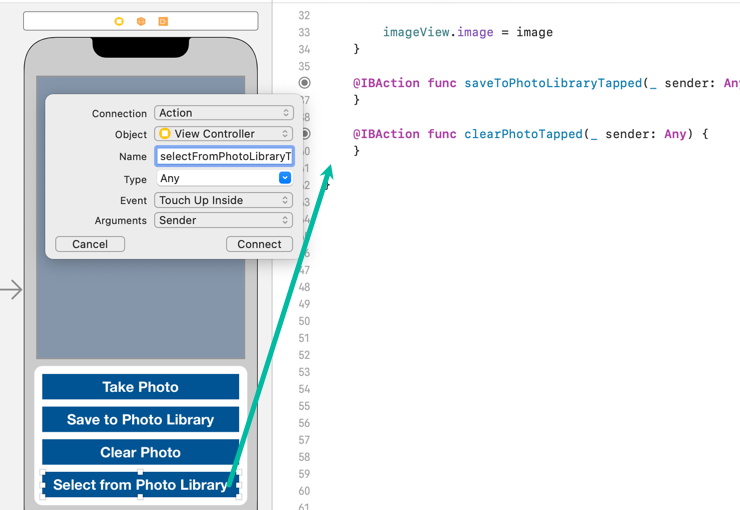
@IBAction func saveToPhotoLibraryTapped(_ sender: Any) {
}

@IBAction func clearPhotoTapped(_ sender: Any) {
}

@IBAction func selectFromPhotoLibraryTapped(_ sender: Any) {
}
When the Clear Photo button is tapped, we want to remove the image from the UIImageView. Add the following line:
imageView is the outlet connected to the UIImageView.
@IBAction func clearPhotoTapped(_ sender: Any) {
    imageView.image = nil
}
How to Save an Image File to the Photo Library in Swift
We will now save the photo currently displayed in the UIImageView to the Photo Library.
First, since we need access to the Photo Library in the app, add the following to info.plist: Privacy - Photo Library Usage Description (NSPhotoLibraryUsageDescription) and Privacy - Photo Library Additions Usage Description (NSPhotoLibraryAddUsageDescription).
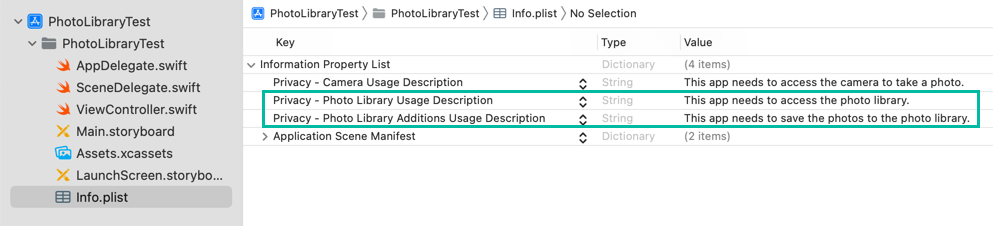
Although NSPhotoLibraryUsageDescription alone often works, sometimes errors occur. To avoid this, it's safer to also add NSPhotoLibraryAddUsageDescription, which specifically covers writing to the Photo Library.
Next, update saveToPhotoLibraryTapped() to save the UIImageView's image to the Photo Library, and add the image() completion handler.
@IBAction func saveToPhotoLibraryTapped(_ sender: Any) {
    guard let image = imageView.image else { return }
    UIImageWriteToSavedPhotosAlbum(image, self, #selector(image(image:didFinishSavingWithError:contextInfo:)), nil)
}

@objc func image(image: UIImage, didFinishSavingWithError error: NSError?, contextInfo: UnsafeRawPointer) {
    if let error = error {
        print("Failed to save photo: \(error)")
    } else {
        print("Photo saved successfully.")
    }
}
Line 2 safely unwraps the UIImage from the imageView. If no image exists, it exits early.
Line 3 calls UIImageWriteToSavedPhotosAlbum() to save the image to the Photo Library. The second and third arguments specify that once saving is complete, the image() method of this ViewController will be called.
func UIImageWriteToSavedPhotosAlbum(_ image: UIImage,
                                    _ completionTarget: Any?,
                                    _ completionSelector: Selector?,
                                    _ contextInfo: UnsafeMutableRawPointer?)
Inside image(), if an error occurs, we print the error. Otherwise, we print "Photo saved successfully."
That's all you need to save an image to the Photo Library.
How to Select and Display an Image from the Photo Library in Swift
Next, let's select and display an image stored in the Photo Library.
When the Select from Photo Library button is tapped, we'll open the Photo Library with an Image Picker and display the chosen image in the UIImageView.
We previously used UIImagePickerController for the camera. The same controller works for the Photo Library by changing the sourceType from .camera to .photoLibrary.
Here's the updated ViewController.swift. The highlighted lines show the modifications.
import UIKit

class ViewController: UIViewController, UIImagePickerControllerDelegate, UINavigationControllerDelegate {

    @IBOutlet weak var imageView: UIImageView!
    var imagePicker: UIImagePickerController!

    override func viewDidLoad() {
        super.viewDidLoad()

        imagePicker = UIImagePickerController()
        imagePicker.delegate = self
    }

    @IBAction func takePhotoTapped(_ sender: Any) {
        if UIImagePickerController.isSourceTypeAvailable(.camera) {
            imagePicker.sourceType = .camera
            self.present(imagePicker, animated: true, completion: nil)
        }
        else {
            print("Camera not available.")
        }
    }

    func imagePickerController(_ picker: UIImagePickerController, didFinishPickingMediaWithInfo info: [UIImagePickerController.InfoKey : Any]) {
        picker.dismiss(animated: true)

        guard let image = info[.originalImage] as? UIImage else {
            print("Image not found.")
            return
        }

        imageView.image = image
    }

    @IBAction func saveToPhotoLibraryTapped(_ sender: Any) {
        guard let image = imageView.image else { return }
        UIImageWriteToSavedPhotosAlbum(image, self, #selector(image(image:didFinishSavingWithError:contextInfo:)), nil)
    }

    @objc func image(image: UIImage, didFinishSavingWithError error: NSError?, contextInfo: UnsafeRawPointer) {
        if let error = error {
            print("Failed to save photo: \(error)")
        } else {
            print("Photo saved successfully.")
        }
    }

    @IBAction func clearPhotoTapped(_ sender: Any) {
        imageView.image = nil
    }

    @IBAction func selectFromPhotoLibraryTapped(_ sender: Any) {
        if UIImagePickerController.isSourceTypeAvailable(.photoLibrary) {
            imagePicker.sourceType = .photoLibrary
            self.present(imagePicker, animated: true, completion: nil)
        }
        else {
            print("Photo Library not available.")
        }
    }
}
Lines 54–60 run when the Select from Photo Library button is tapped.
Line 54 checks if the Photo Library is available.
Line 55 sets the imagePicker's sourceType to .photoLibrary.
Line 56 presents the Image Picker, allowing the user to choose an image.
When the user selects an image, the imagePickerController(_:didFinishPickingMediaWithInfo:) method runs (lines 25–34), displaying the chosen image in the UIImageView.
That completes the code to select and display an image from the Photo Library.
Test the iOS App on an iPhone
You cannot test the camera in the simulator, so install and test the app on a real iPhone.
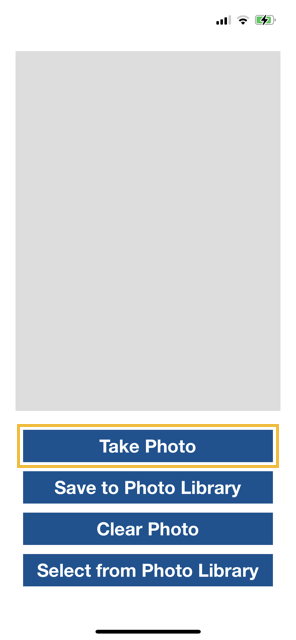
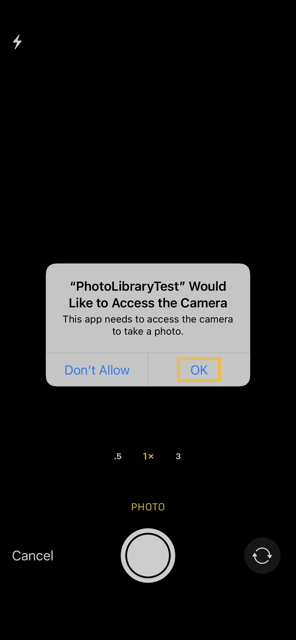
When you run the app on an iPhone, the following screen will appear. Tap the Take Photo button.
A dialog will request camera access. Tap OK.
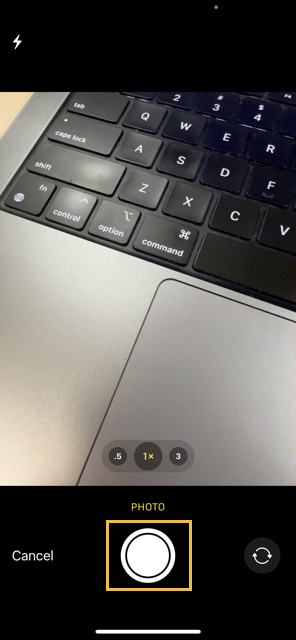
The camera will launch. Take a photo.
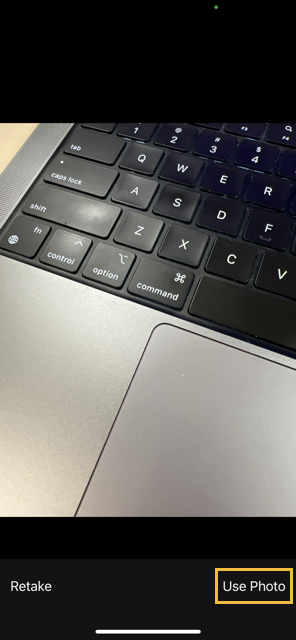
If you're satisfied with the photo, tap Use Photo. To retake it, tap Retake.
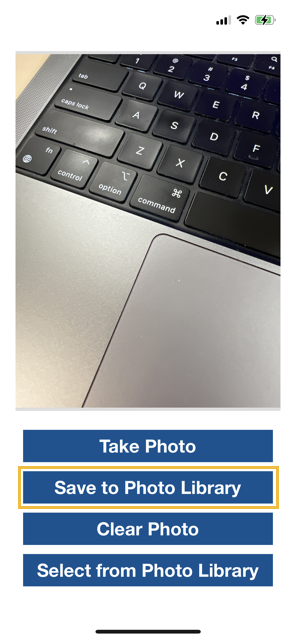
After tapping Use Photo, the camera closes, and the image is shown on screen. Now tap Save to Photo Library to save it.
The first time the app accesses the Photo Library, iOS will ask for permission. Tap OK.
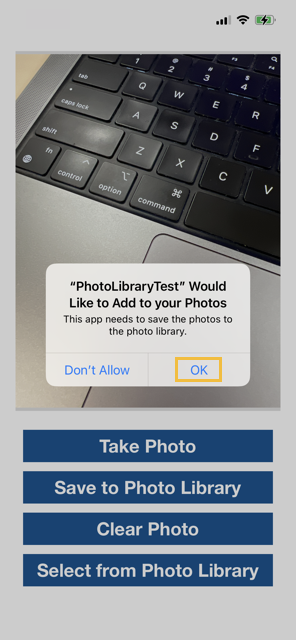
You should see "Photo saved successfully." in the Xcode console, and the saved photo will appear in the Photos app.
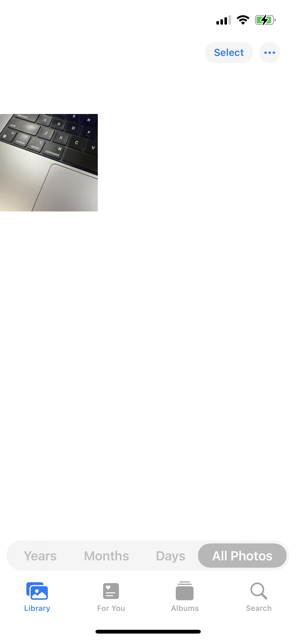
Tap Clear Photo to remove the image from the UIImageView.

Tap Select from Photo Library to open your Photo Library.
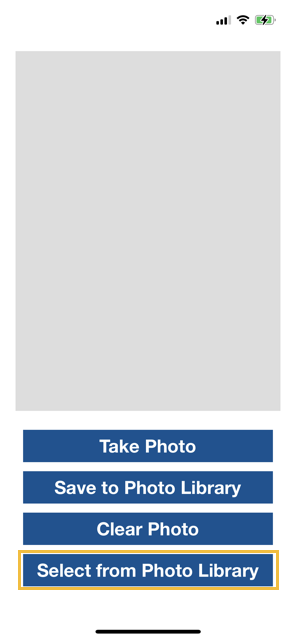
When you select a photo, the Image Picker closes, and the chosen photo is displayed in the UIImageView.


Note: If you tap Save to Photo Library multiple times, the image will be saved to the Photo Library that many times.
That's how to save and retrieve image files in the Photo Library using Swift.