How to Pass Data Between View Controllers Using Delegates (Swift)
There are several ways to pass data between View Controllers in an iOS app.
In this tutorial, we will explain how to pass values between View Controllers using Delegate in Swift.
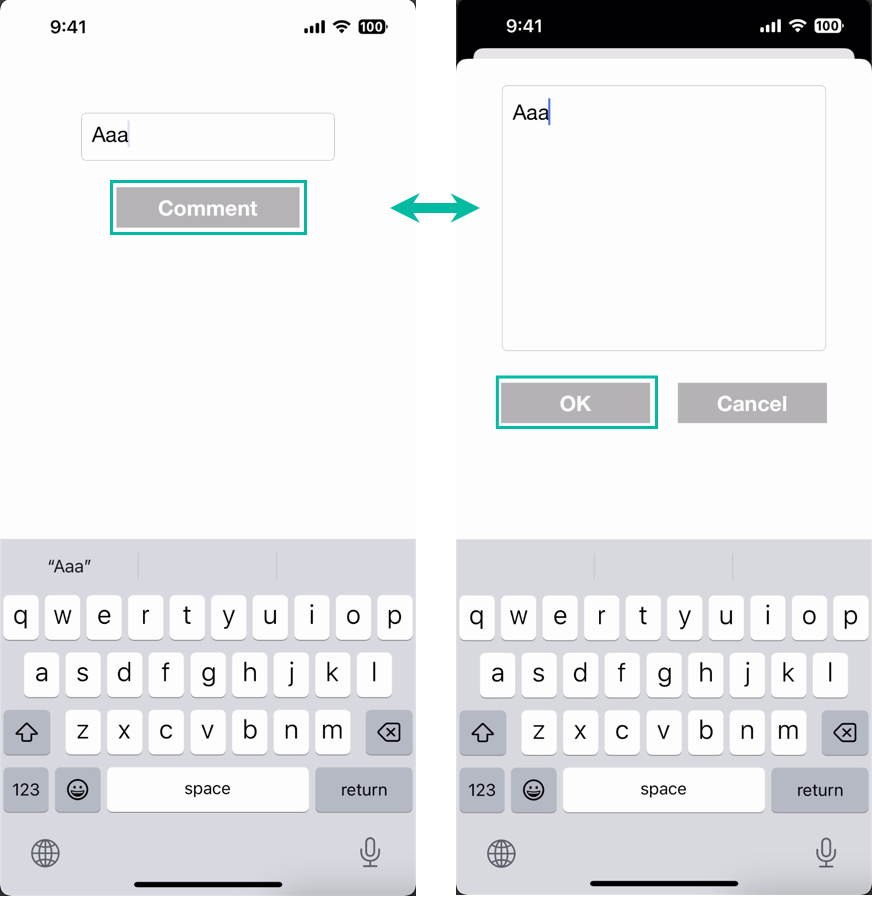
As an example, we'll create a simple test app where the main screen has only a small input space for comments, and you can open a modal screen to enter multiple lines of comments.
Preparing a Test iOS App to Pass Data
First, let's create a simple iOS app for testing data transfer.
In Xcode, create a new project under [iOS] > [App].
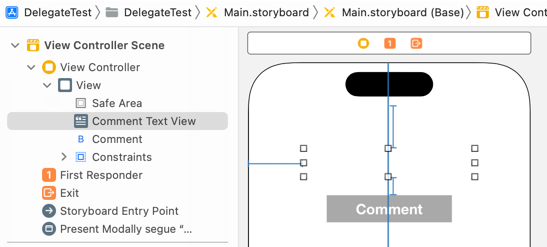
On the Main storyboard, add a small Text View and a button labeled “Comment” to the View Controller. The design and placement don't matter.
If you're not familiar with how to add objects or create outlets, see How to Create a Basic iOS App.
Open the Assistant Editor, create an outlet for the Text View named commentTextView, and create a TouchUpInside action for the Comment button named commentTapped.
import UIKit

class ViewController: UIViewController {

    @IBOutlet weak var commentTextView: UITextView!

    override func viewDidLoad() {
        super.viewDidLoad()
    }

    @IBAction func commentTapped(_ sender: Any) {
    }
}
Next, add another View Controller to be displayed modally.
First, generate a Custom Class file for the new View Controller.
From the Xcode menu, select [File] > [New] > [File from Template...].

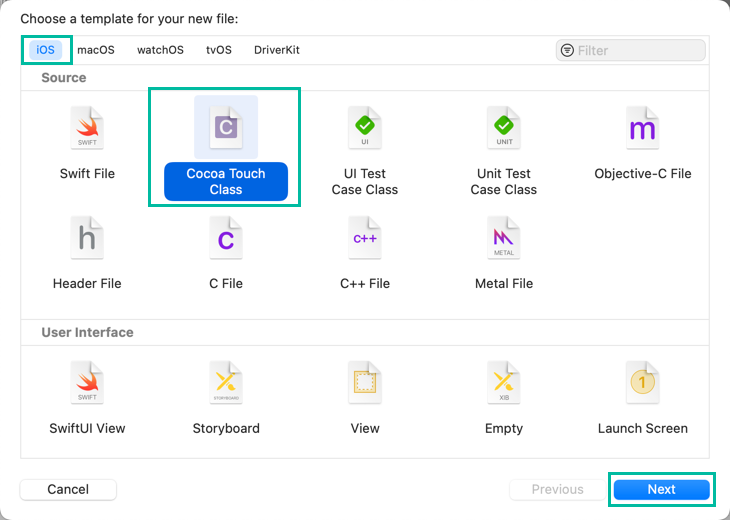
Select [iOS] > [Cocoa Touch Class] and click [Next].
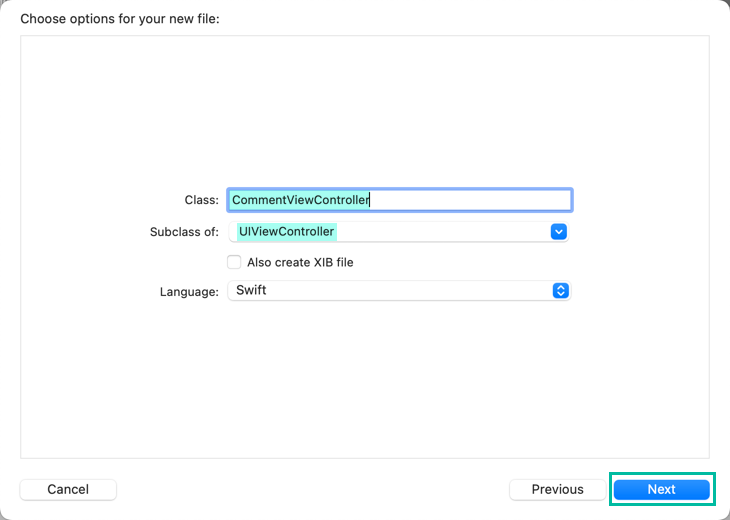
Enter a class name (here we'll use CommentViewController), set Subclass of to UIViewController, then click [Next] to generate the file.
Go back to the Main storyboard, add a new View Controller, and set its Custom Class to CommentViewController.

Add a large Text View and two buttons: “OK” and “Cancel.”
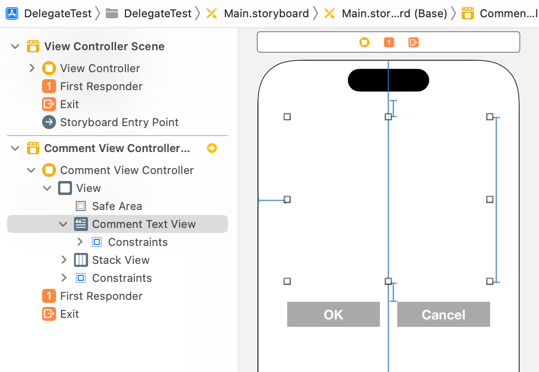
Open the Assistant Editor, create an outlet for the Text View named commentTextView, and actions for the buttons: okTapped and cancelTapped.
import UIKit

class CommentViewController: UIViewController {

    @IBOutlet weak var commentTextView: UITextView!

    override func viewDidLoad() {
        super.viewDidLoad()
    }

    @IBAction func okTapped(_ sender: Any) {
    }

    @IBAction func cancelTapped(_ sender: Any) {
    }
}
Now, create a Segue between the two View Controllers.
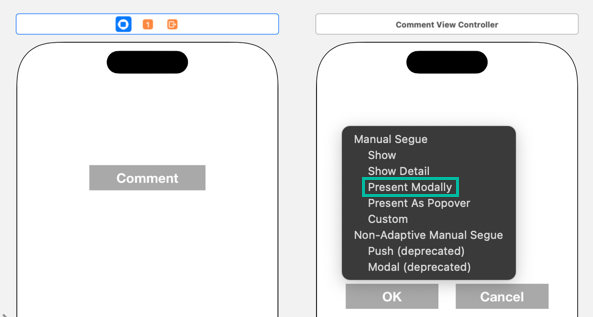
Drag from the Comment button of the first View Controller to the CommentViewController.

If you want to validate data before transitioning, you can create the Segue from the first ViewController itself and call performSegue(withIdentifier:sender:) inside commentTapped() when appropriate.

Choose Present Modally.
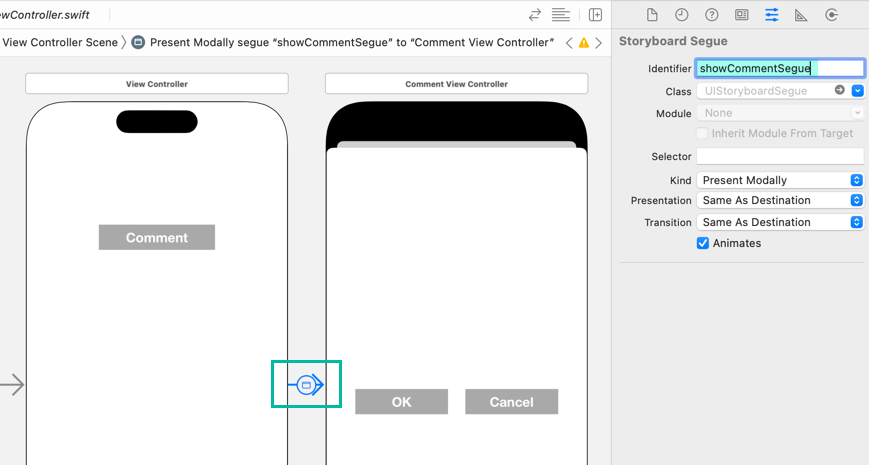
Select the generated Segue and set its identifier to showCommentSegue.
Passing Values Between View Controllers Using Delegate
We will use a Delegate to pass the text back from the Comment View Controller to the first View Controller when either the OK or Cancel button is tapped.
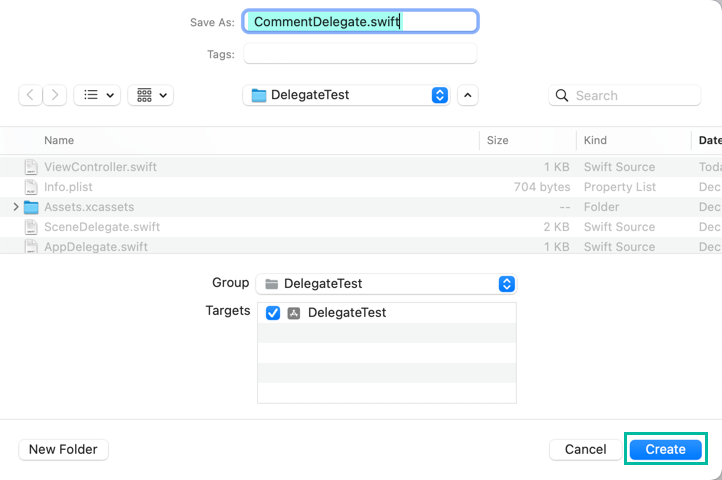
From the Xcode menu, select [File] > [New] > [File from Template...], then choose [iOS] > [Swift File] and click [Next].
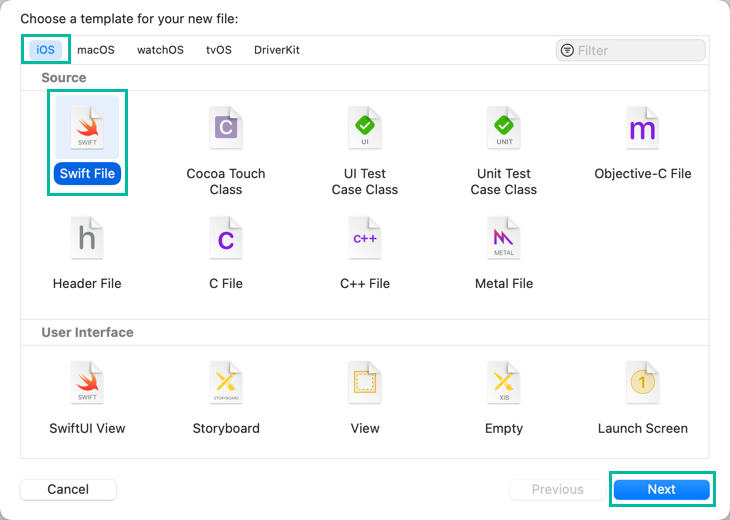
Create a Swift file named CommentDelegate.swift.
In CommentDelegate.swift, define a protocol called CommentDelegate like this:
import Foundation

protocol CommentDelegate: AnyObject {
    func commentEntered(text: String, cancelled: Bool)
}
The first View Controller will conform to this protocol, and when OK or Cancel is tapped in the Comment View Controller, it will call commentEntered() to return the value.
Update the first ViewController class as follows:
import UIKit

class ViewController: UIViewController, CommentDelegate {

    @IBOutlet weak var commentTextView: UITextView!

    override func viewDidLoad() {
        super.viewDidLoad()

        commentTextView.layer.borderColor = UIColor.lightGray.cgColor
        commentTextView.layer.borderWidth = 0.5
        commentTextView.layer.cornerRadius = 5
        commentTextView.contentInset = UIEdgeInsets(top: 5, left: 5, bottom: 5, right: 5)
    }

    @IBAction func commentTapped(_ sender: Any) {
        self.view.endEditing(true)
    }

    override func prepare(for segue: UIStoryboardSegue, sender: Any?) {
        if segue.identifier == "showCommentSegue" {
            if let vc = segue.destination as? CommentViewController {
                vc.commentText = commentTextView.text
                vc.commentDelegate = self
            }
        }
    }

    func commentEntered(text: String, cancelled: Bool) {
        if !cancelled {
            commentTextView.text = text
        }
    }
}
Now, update the CommentViewController class like this:
import UIKit

class CommentViewController: UIViewController {

    var commentText: String?
    weak var commentDelegate: CommentDelegate?

    @IBOutlet weak var commentTextView: UITextView!

    override func viewDidLoad() {
        super.viewDidLoad()

        commentTextView.layer.borderColor = UIColor.lightGray.cgColor
        commentTextView.layer.borderWidth = 0.5
        commentTextView.layer.cornerRadius = 5
        commentTextView.contentInset = UIEdgeInsets(top: 5, left: 5, bottom: 5, right: 5)
        commentTextView.text = commentText
    }

    @IBAction func okTapped(_ sender: Any) {
        self.view.endEditing(true)
        commentDelegate?.commentEntered(text: commentTextView.text, cancelled: false)
        self.dismiss(animated: true)
    }

    @IBAction func cancelTapped(_ sender: Any) {
        self.view.endEditing(true)
        commentDelegate?.commentEntered(text: commentTextView.text, cancelled: true)
        self.dismiss(animated: true)
    }
}
In the first ViewController, we conform to CommentDelegate by declaring it on line 3 and implementing commentEntered() on lines 29 - 33.
Inside commentEntered(), we check if cancelled is false, and if so, set commentTextView.text to the passed text.
Lines 10 - 13 set up the border of the Text View inside viewDidLoad(). For details, see How to Add a Border to a Text View.
Lines 16 - 18 are executed when the Comment button is tapped, which closes the keyboard with self.view.endEditing(true).
Lines 20 - 27 override the prepare(for:sender:) method.
prepare(for:sender:) is a method that is executed before the segue is performed.
When segue.identifier is showCommentSegue, we use if let to cast segue.destination to CommentViewController.
We then assign the value of commentTextView.text to the commentText property of CommentViewController, and set the commentDelegate property to self, which refers to this ViewController.
This is how you can pass values from the first View Controller to the second View Controller.
Next, let's explain the code of the second CommentViewController class.
On line 5, a nullable String property commentText is defined to receive the comment text.
On line 6, a nullable CommentDelegate property commentDelegate is defined to send the comment text back to the first View Controller.
Lines 13 - 16, inside viewDidLoad(), configure the border and appearance of the Text View.
On line 17, the value passed from the first View Controller is set to commentTextView.text.
Lines 20 - 24 are executed when the OK button is tapped.
self.view.endEditing(true) is called to dismiss the keyboard.
Then, delegate?.commentEntered(text: commentTextView.text, cancelled: false) executes the commentEntered() method of the first View Controller, passing the text of commentTextView and false for the cancelled parameter.
Finally, self.dismiss(animated: true) closes this modal screen.
Lines 26 - 30 are executed when the Cancel button is tapped.
This is almost the same as okTapped(), except that delegate?.commentEntered(text: commentTextView.text, cancelled: true) is called, passing true for the cancelled parameter.
When you build and run this, you will have an iOS app that behaves like the demo video.
That's how to pass values between View Controllers using Delegate in Swift.