iOS アプリで Delegate を使って View Controller 間で値を渡す方法 (Swift)
iOS アプリの View Controller 間でデータを受け渡しする方法は何通りかあります。
ここでは、Swift で Delegate を使って View Controller 間で値を渡す方法をご説明します。
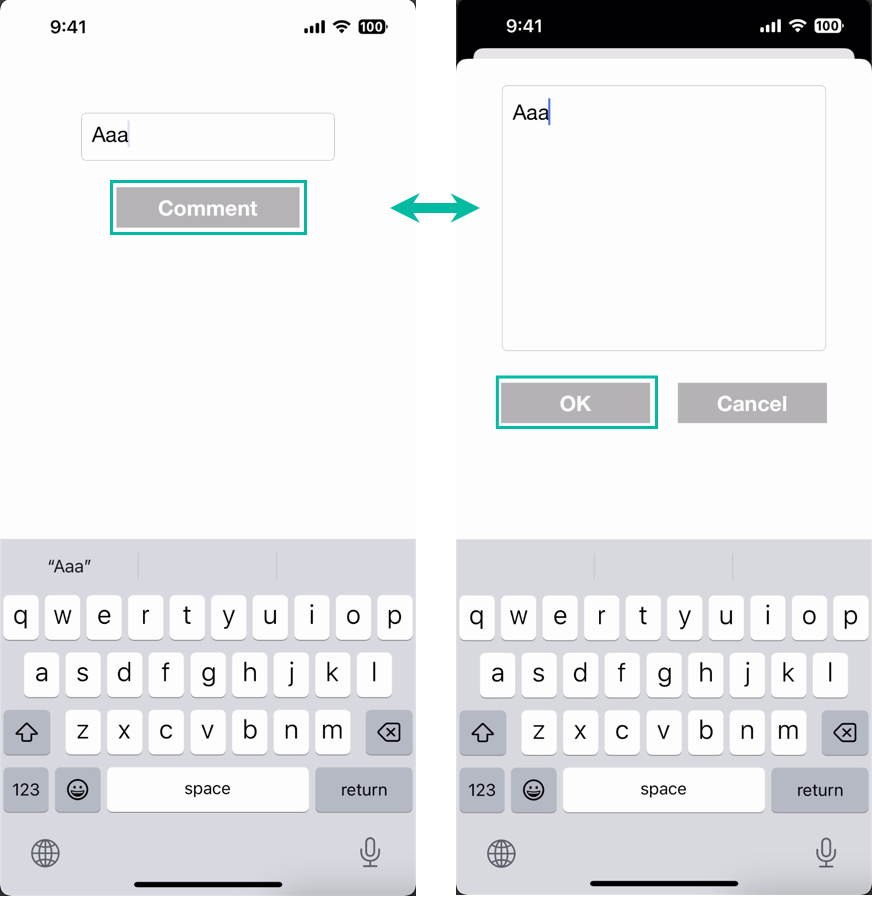
今回は、以下のような、メインの画面でコメントを入力スペースが小さい場合に、複数行のコメントを入力するための画面をモーダルで開くようなテスト用の iOS アプリを作ります。
データを受け渡しする、テスト iOS アプリの準備をする
まずはテスト用にデータを受け渡しする、簡単な iOS アプリを作ります。
Xcode で [iOS] の [App] の新規プロジェクトを作成します。
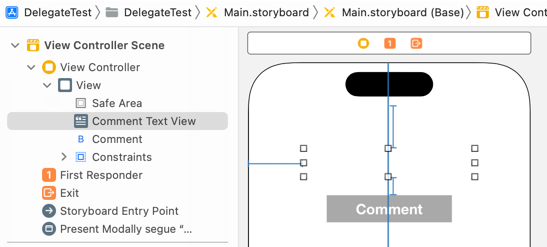
デザインや場所などは適当で良いので、Main ストーリーボードの View Controller に TextView を小さめにひとつと、Comment というボタンをひとつ追加します。
オブジェクトの追加の方法や、アウトレットの作り方がわからない方は「基本的な iOS アプリの作り方」をご覧ください。
アシスタントエディタを開き、Text View のアウトレットを commentTextView という名前で、Comment ボタンの TouchUpInside のアクションを commentTapped という名前で生成しておきます。
import UIKit

class ViewController: UIViewController {

    @IBOutlet weak var commentTextView: UITextView!

    override func viewDidLoad() {
        super.viewDidLoad()
    }

    @IBAction func commentTapped(_ sender: Any) {
    }
}
次にモーダルで表示する画面用の View Controller を追加します。
先に View Controller の Custom クラス用のファイルを生成します。
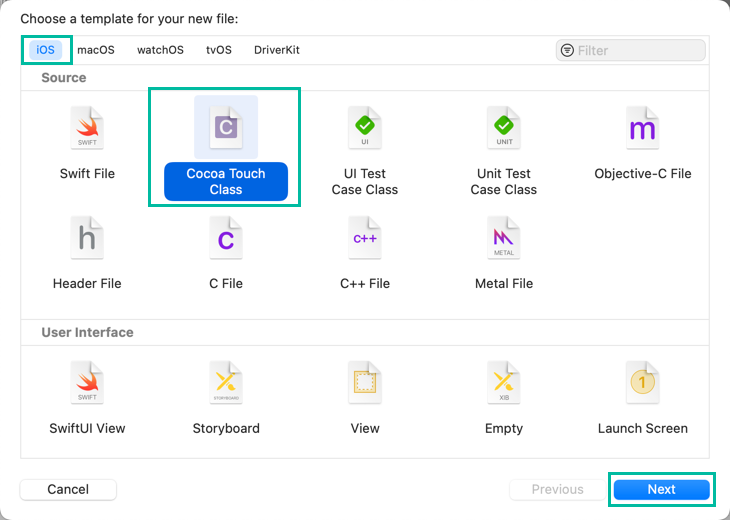
Xcode のメニューから [File] > [New] > [File from Template...] を選択します。

[iOS] の [Cocoa Touch Class] を選択して [Next] ボタンをクリックします。
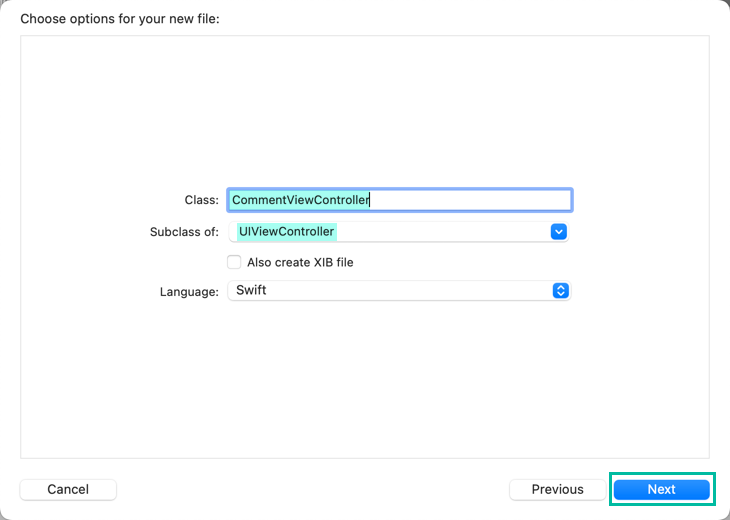
お好きなクラス名を入力します。今回は CommentViewController にしました。 Subclass of を UIViewController にして [Next] ボタンをクリックし、次の画面でファイルを生成してください。
Main ストーリーボードにもどって、View Controller を追加し、Custom Class に先ほど作った CommentViewController を設定します。

デザインや場所などは適当で良いので、大きめの Text View ひとつと、OK と Cancel というボタンをひとつずつ追加しておきます。
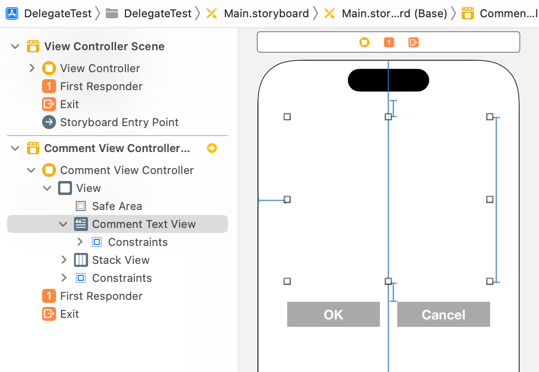
アシスタントエディタを開き、Text View のアウトレットを commentTextView という名前で、OK と Cancel ボタンの TouchUpInside のアクションを okTapped と cancelTapped という名前で生成しておきます。
import UIKit

class CommentViewController: UIViewController {

    @IBOutlet weak var commentTextView: UITextView!

    override func viewDidLoad() {
        super.viewDidLoad()
    }

    @IBAction func okTapped(_ sender: Any) {
    }

    @IBAction func cancelTapped(_ sender: Any) {
    }
}
そして、View Controller 間をむすぶ、Segue を作ります。
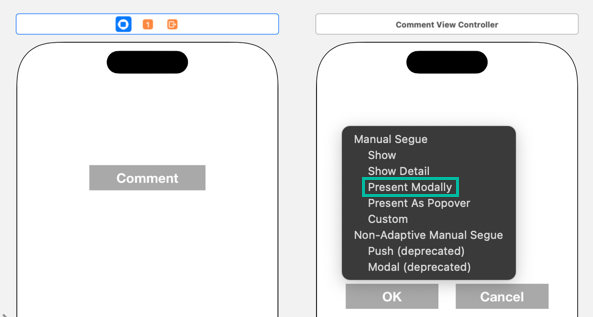
ひとつめの ViewController の Comment ボタンから、右クリックで CommentViewController にドラッグします。

二つ目の View Controller に遷移する前に、バリデーションなどをして、OK な時のみ次の画面に遷移したい場合は、ボタンからではなく、ひとつめの ViewController から Segue を作って、commentTapped() で遷移したいタイミングで performSegue(withIdentifier:sender:) を実行して遷移できます。

ポップアップが出てきますので、Present Modally を選択します。
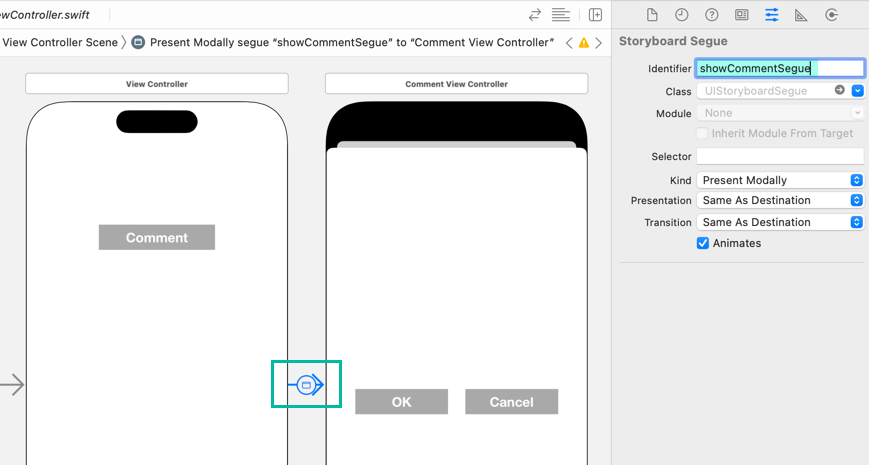
生成された Segue を選択して、identifier に showCommentSegue を設定しておいてください。
Delegate を使って View Controller 間で値を渡す方法
今回は二つ目の Comment View Controller の OK ボタンか Cancel ボタンがタップされた時に、Comment Text View の値をひとつめの View Controller に渡すのに Delegate を使います。
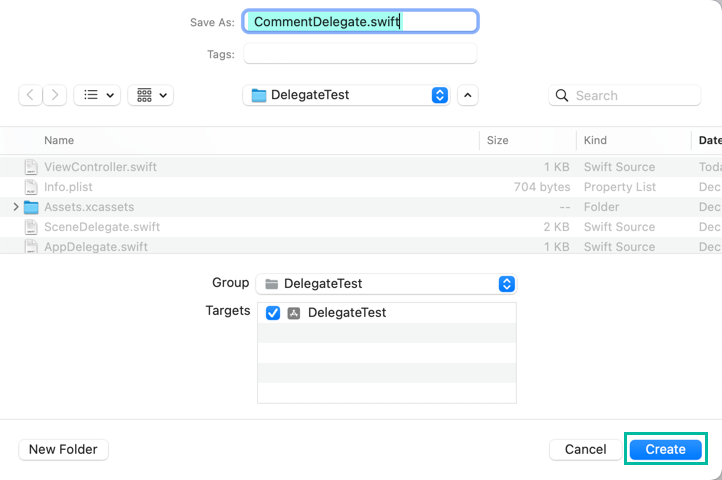
Xcode のメニューから [File] > [New] > [File from Template...] を選択し、[iOS] の [Swift File] を選択して [Next] ボタンをクリックします。
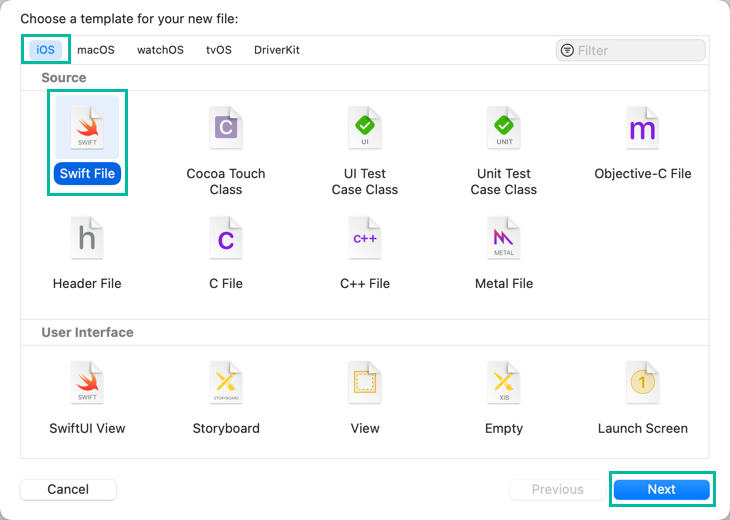
CommentDelegate.swift という名前で Swift ファイルを生成します。
作った CommentDelegate.swift に次のような CommentDelegate という名前でプロトコルを定義しておきます。
import Foundation

protocol CommentDelegate: AnyObject
{
    func commentEntered(text: String, cancelled: Bool)
}
このプロトコルをひとつめの View Controller でコンフォームしておき、Comment View Controller で OK もしくは Cancel ボタンがタップされた時に commentEntered() メソッドを使って値を返します。
ひとつ目の ViewController クラスを次のように変更します。
import UIKit

class ViewController: UIViewController, CommentDelegate {

    @IBOutlet weak var commentTextView: UITextView!

    override func viewDidLoad() {
        super.viewDidLoad()

        commentTextView.layer.borderColor = UIColor.lightGray.cgColor
        commentTextView.layer.borderWidth = 0.5
        commentTextView.layer.cornerRadius = 5
        commentTextView.contentInset = UIEdgeInsets(top: 5, left: 5, bottom: 5, right: 5)
    }

    @IBAction func commentTapped(_ sender: Any) {
        self.view.endEditing(true)
    }

    override func prepare(for segue: UIStoryboardSegue, sender: Any?) {
        if segue.identifier == "showCommentSegue" {
            if let vc = segue.destination as? CommentViewController {
                vc.commentText = commentTextView.text
                vc.commentDelegate = self
            }
        }
    }

    func commentEntered(text: String, cancelled: Bool) {
        if !cancelled {
            commentTextView.text = text
        }
    }
}
二つ目の CommentViewController クラスを次のように変更します。
import UIKit

class CommentViewController: UIViewController {

    var commentText: String?
    weak var commentDelegate: CommentDelegate?

    @IBOutlet weak var commentTextView: UITextView!

    override func viewDidLoad() {
        super.viewDidLoad()

        commentTextView.layer.borderColor = UIColor.lightGray.cgColor
        commentTextView.layer.borderWidth = 0.5
        commentTextView.layer.cornerRadius = 5
        commentTextView.contentInset = UIEdgeInsets(top: 5, left: 5, bottom: 5, right: 5)
        commentTextView.text = commentText
    }

    @IBAction func okTapped(_ sender: Any) {
        self.view.endEditing(true)
        commentDelegate?.commentEntered(text: commentTextView.text, cancelled: false)
        self.dismiss(animated: true)
    }

    @IBAction func cancelTapped(_ sender: Any) {
        self.view.endEditing(true)
        commentDelegate?.commentEntered(text: commentTextView.text, cancelled: true)
        self.dismiss(animated: true)
    }
}
まず、ひとつ目の ViewController クラスのコードをご説明します。
CommentDelegate をコンフォームするのに、3 行目で class ViewController: UIViewController, CommentDelegate のように指定し、29 行目 ~ 33 行目で commentEntered() を定義しています。
commentEntered() では、cancelled が false の時に text を commentTextView.text に代入するようにしています。
10 ~ 13 行目は viewDidLoad() 内で、Text View のボーダーなどを設定しています。詳しくは「Text View にボーダーを追加する方法」をご覧ください。
16 ~ 18 行目は Comment ボタンがタップされた時に実行される箇所です。
self.view.endEditing(true) でキーボードを閉じています。
20 ~ 27 行目では prepare(for:sender:) を override しています。
prepare(for:sender:) は segue が実行される前に実行されるメソッドです。
segue.identifier が showCommentSegue の時は、if let で segue.destination が CommentViewController にキャストしています。
CommentViewController の commentText に commentTextView.text の値を、commentDelegate に self でこの ViewController を代入しています。
ひとつ目の View Controller から二つ目の View Controller に値を渡したい時は、このように渡せます。
次に、二つ目のの CommentViewController クラスのコードをご説明します。
5 行目では、コメントの文字列をうけとるために nullable の String 型の commentText を定義しています。
6 行目では、コメントの文字列をひとつめの View Controller に返すために、 nullable の CommentDelegate 型の commentDelegate を定義しています。
13 ~ 16 行目は viewDidLoad() 内で、Text View のボーダーなどを設定しています。
17 行目で、ひとつめの View Controller から渡ってきた値を commentTextView.text にセットしています。
20 ~ 24 行目は OK ボタンがタップされた時に実行される箇所です。
self.view.endEditing(true) でキーボードを閉じています。
delegate?.commentEntered(text: commentTextView.text, cancelled: false) で、ひとつ目の View Controller の commentEntered() を text に commentTextView.text と cancelled に false を渡して実行しています。
self.dismiss(animated: true) でモーダルで表示しているこの画面を閉じています。
26 ~ 30 行目は Cancel ボタンがタップされた時に実行される箇所です。
okTapped() とほぼ同じで、違いは delegate?.commentEntered(text: commentTextView.text, cancelled: true) で、cancelled に true を渡して実行している点のみです。
これをビルドして実行すると、動画のような iOS アプリのできあがりです。
以上、Swift で Delegate を使って View Controller 間で値を渡す方法をご説明しました。