How to Take Photos with the Camera in Swift
In this tutorial, we will explain how to take a photo using the camera in Swift.
We will create a simple iOS app where tapping a Take Photo button launches the camera, allows the user to take a photo, and then displays the captured photo back on the original screen as shown below.
Prepare an iOS App to Take a Photo
First, let's create a simple test iOS app with a button to launch the camera and take a photo.
If you are not sure how to create a new app, add a button, or connect actions, please see How to Create a Basic iOS App.
In Xcode, create a new project with [iOS] > [App].
In the Main storyboard, add an Image View to display the captured photo and a Button to launch the camera.
Set the button's title to Take Photo.
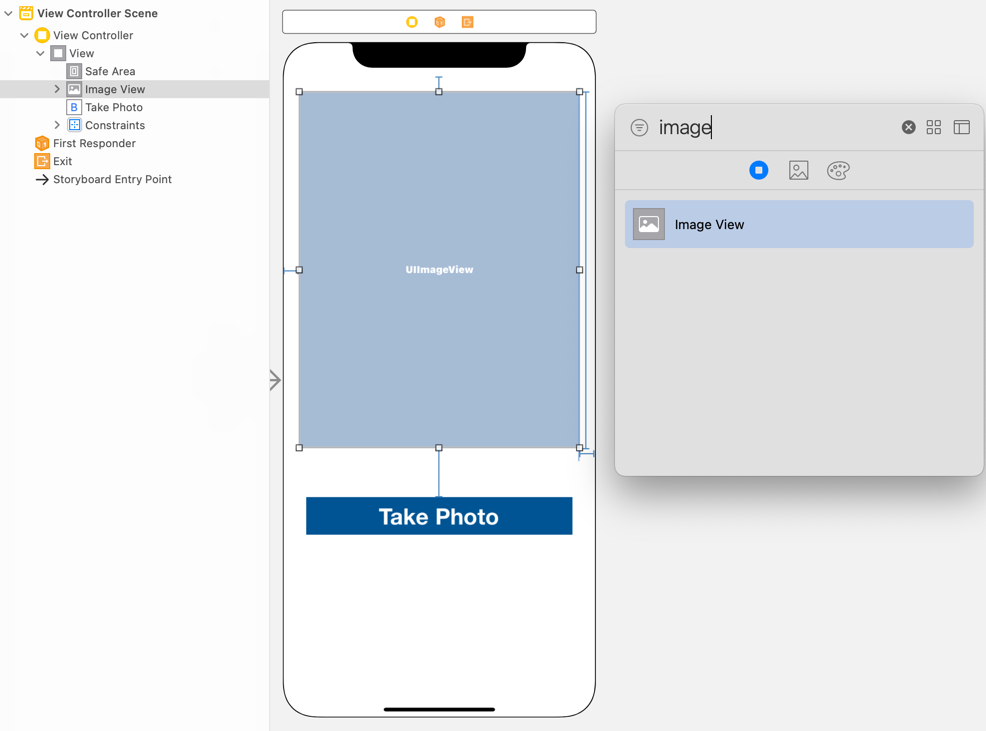
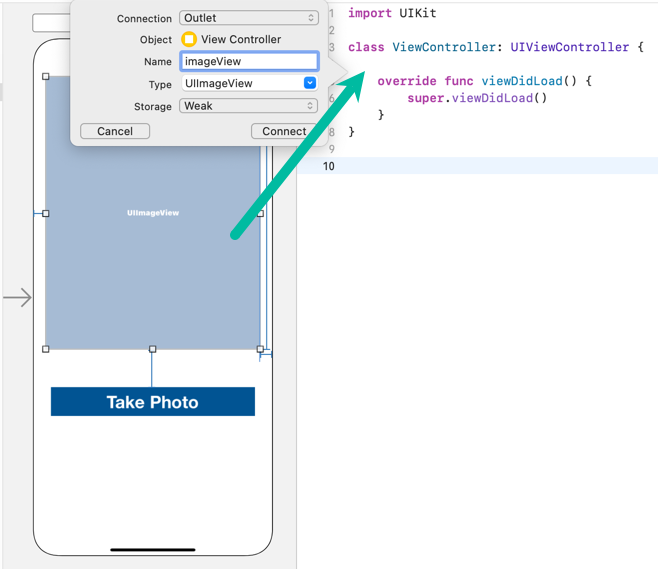
Create an outlet from the Image View named imageView.
import UIKit
class ViewController: UIViewController {
@IBOutlet weak var imageView: UIImageView!
override func viewDidLoad() {
super.viewDidLoad()
}
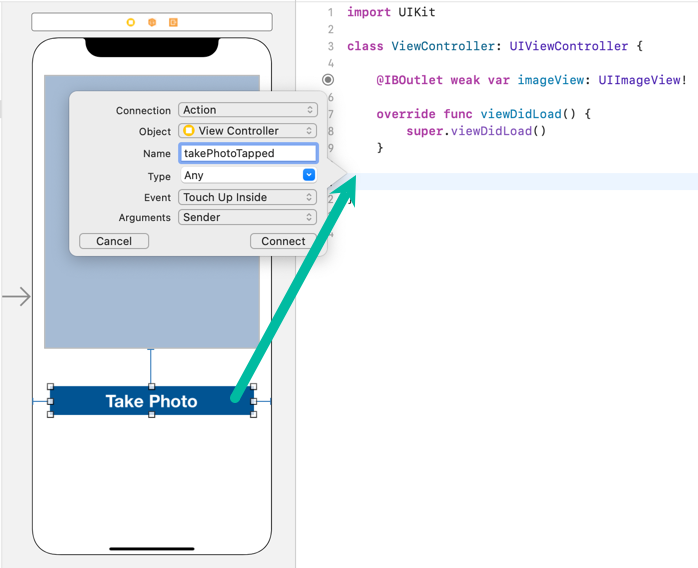
}Create a TouchUpInside action for the Take Photo button named takePhotoTapped.
import UIKit

class ViewController: UIViewController {

    @IBOutlet weak var imageView: UIImageView!

    override func viewDidLoad() {
        super.viewDidLoad()
    }

    @IBAction func takePhotoTapped(_ sender: Any) {
    }
}
How to Take a Photo with the Camera in Swift
Now, let's write the Swift code to launch the camera from the iOS app and take a photo.
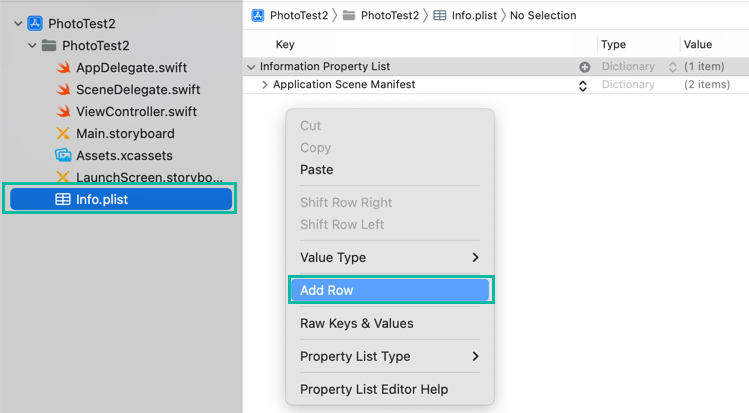
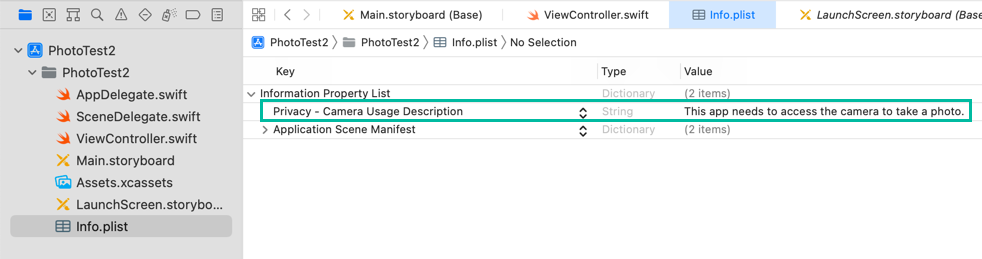
Since we are using the camera, add Privacy - Camera Usage Description (NSCameraUsageDescription) to your info.plist.
Next, make ViewController conform to UIImagePickerControllerDelegate and UINavigationControllerDelegate to handle events from UIImagePickerController.
import UIKit

class ViewController: UIViewController, UIImagePickerControllerDelegate, UINavigationControllerDelegate {

    @IBOutlet weak var imageView: UIImageView!

    override func viewDidLoad() {
        super.viewDidLoad()
    }

    @IBAction func takePhotoTapped(_ sender: Any) {
    }
}
Then, update the takePhotoTapped() method to create and display a UIImagePickerController when the button is tapped:
@IBAction func takePhotoTapped(_ sender: Any) {
    if UIImagePickerController.isSourceTypeAvailable(.camera) {
        let imagePicker = UIImagePickerController()
        imagePicker.sourceType = .camera
        imagePicker.delegate = self
        self.present(imagePicker, animated: true, completion: nil)
    }
    else {
        print("Camera not available.")
    }
}
Line 2 checks if the camera is available.
Line 3 creates a UIImagePickerController, line 4 sets its sourceType to .camera, and line 5 assigns the delegate to self.
Line 6 uses self.present() to display the image picker and launch the camera.
When the user takes a photo and taps Use Photo, the imagePickerController(_:didFinishPickingMediaWithInfo:) method is called. We will display the captured photo in the Image View there.
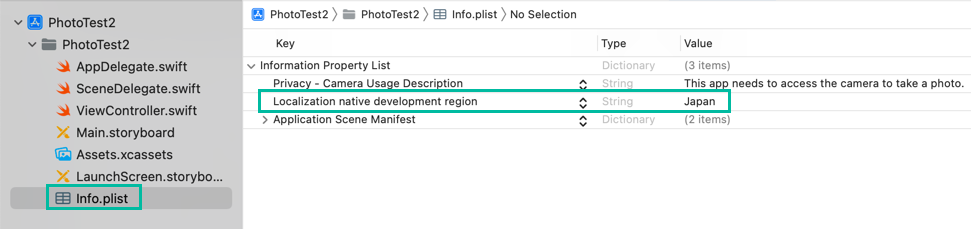
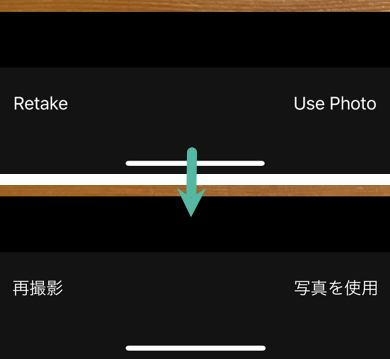
If you want the Retake and Use Photo buttons under the camera to be shown in Japanese (e.g., 「再撮影」「写真を使用」), add Localization native development region (CFBundleDevelopmentRegion) to info.plist and set it to Japan (ja_JP).
Add the following method to ViewController:
func imagePickerController(_ picker: UIImagePickerController, didFinishPickingMediaWithInfo info: [UIImagePickerController.InfoKey : Any]) {
    picker.dismiss(animated: true)

    guard let image = info[.originalImage] as? UIImage else {
        print("Image not found.")
        return
    }

    imageView.image = image
}
Line 2 dismisses the UIImagePickerController.
The info dictionary contains the captured image. Lines 4–7 use guard let to safely extract the originalImage. If it fails, it prints an error and returns.
Line 9 assigns the captured image to imageView.image to display it.
Here's the completed ViewController.swift:
import UIKit

class ViewController: UIViewController, UIImagePickerControllerDelegate, UINavigationControllerDelegate {

    @IBOutlet weak var imageView: UIImageView!

    override func viewDidLoad() {
        super.viewDidLoad()
    }

    @IBAction func takePhotoTapped(_ sender: Any) {
        if UIImagePickerController.isSourceTypeAvailable(.camera) {
            let imagePicker = UIImagePickerController()
            imagePicker.sourceType = .camera
            imagePicker.delegate = self
            self.present(imagePicker, animated: true, completion: nil)
        }
        else {
            print("Camera not available.")
        }
    }

    func imagePickerController(_ picker: UIImagePickerController, didFinishPickingMediaWithInfo info: [UIImagePickerController.InfoKey : Any]) {
        picker.dismiss(animated: true)

        guard let image = info[.originalImage] as? UIImage else {
            print("Image not found.")
            return
        }

        imageView.image = image
    }
}
Install and Test the App on an iPhone
You cannot test taking photos in the simulator, so install the app on a real iPhone.
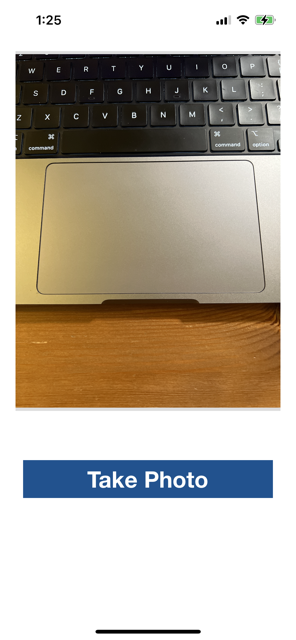
Run the app on an iPhone, and the following screen appears. Tap the Take Photo button.

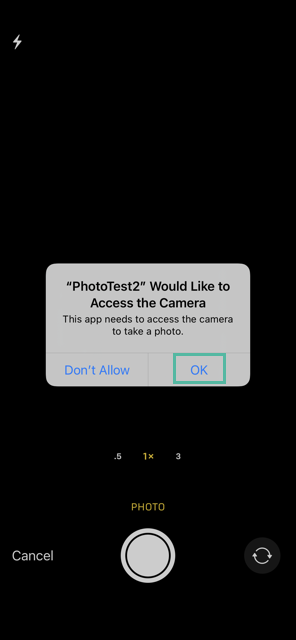
A dialog appears asking for camera access. Tap OK.
The camera launches. Take a photo.

If you are satisfied with the photo, tap Use Photo. If not, tap Retake to take another.
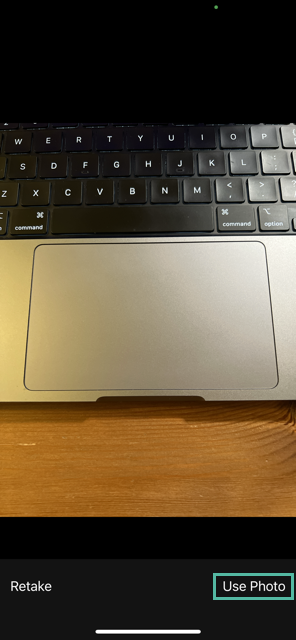
After tapping Use Photo, the camera closes, the app returns to the main screen, and the captured photo is displayed.
That's it! You've learned how to take a photo using the camera in Swift.