How to Create Tables in SQLite with Swift
In this article, we will explain how to create a SQLite table in Swift.
We'll add code to create a SQLite table to the project we built in Create and Open a SQLite Database in Swift.
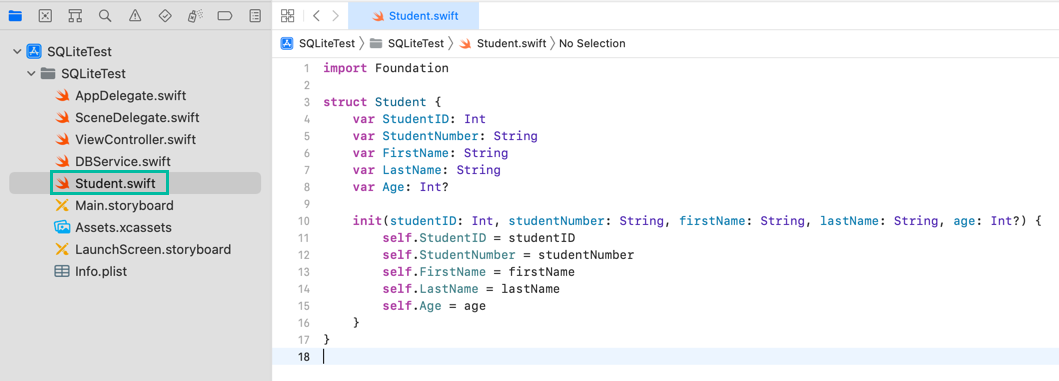
We'll create a SQLite table to store data for the following Student struct:
import Foundation

struct Student {
    var StudentID: Int
    var StudentNumber: String
    var FirstName: String
    var LastName: String
    var Age: Int?

    init(studentID: Int, studentNumber: String, firstName: String, lastName: String, age: Int?) {
        self.StudentID = studentID
        self.StudentNumber = studentNumber
        self.FirstName = firstName
        self.LastName = lastName
        self.Age = age
    }
}
From the menu, select File > New > File..., choose [iOS] > [Swift File], and create a file named Student.swift. Then add the above code.
In Create and Open a SQLite Database in Swift, we created and opened a SQLite database in the initializer of the DBService class and obtained the database handle.
Now, we'll add the code to create a SQLite table.
Open DBService.swift and add the following code:
import Foundation
import SQLite3

final class DBService {
    static let shared = DBService()

    private let dbFile = "DBVer1.sqlite"
    private var db: OpaquePointer?

    private init() {
        db = openDatabase()
        if !createTable() {
            print("Failed to create table")
        }
    }

    private func openDatabase() -> OpaquePointer? {
        let fileURL = try! FileManager.default.url(for: .documentDirectory,
                                                   in: .userDomainMask,
                                                   appropriateFor: nil,
                                                   create: false).appendingPathComponent(dbFile)

        var db: OpaquePointer? = nil
        if sqlite3_open(fileURL.path, &db) != SQLITE_OK {
            print("Failed to open database")
            return nil
        }
        else {
            print("Opened connection to database")
            return db
        }
    }

    private func createTable() -> Bool {
        let createSql = """
        CREATE TABLE IF NOT EXISTS students (
            student_id INTEGER NOT NULL PRIMARY KEY,
            student_number TEXT NOT NULL,
            first_name TEXT NULL,
            last_name TEXT NULL,
            age INTEGER NULL
        );
        """

        var createStmt: OpaquePointer? = nil

        if sqlite3_prepare_v2(db, (createSql as NSString).utf8String, -1, &createStmt, nil) != SQLITE_OK {
            print("db error: \(getDBErrorMessage(db))")
            return false
        }

        if sqlite3_step(createStmt) != SQLITE_DONE {
            print("db error: \(getDBErrorMessage(db))")
            sqlite3_finalize(createStmt)
            return false
        }

        sqlite3_finalize(createStmt)
        return true
    }

    private func getDBErrorMessage(_ db: OpaquePointer?) -> String {
        if let err = sqlite3_errmsg(db) {
            return String(cString: err)
        } else {
            return ""
        }
    }
}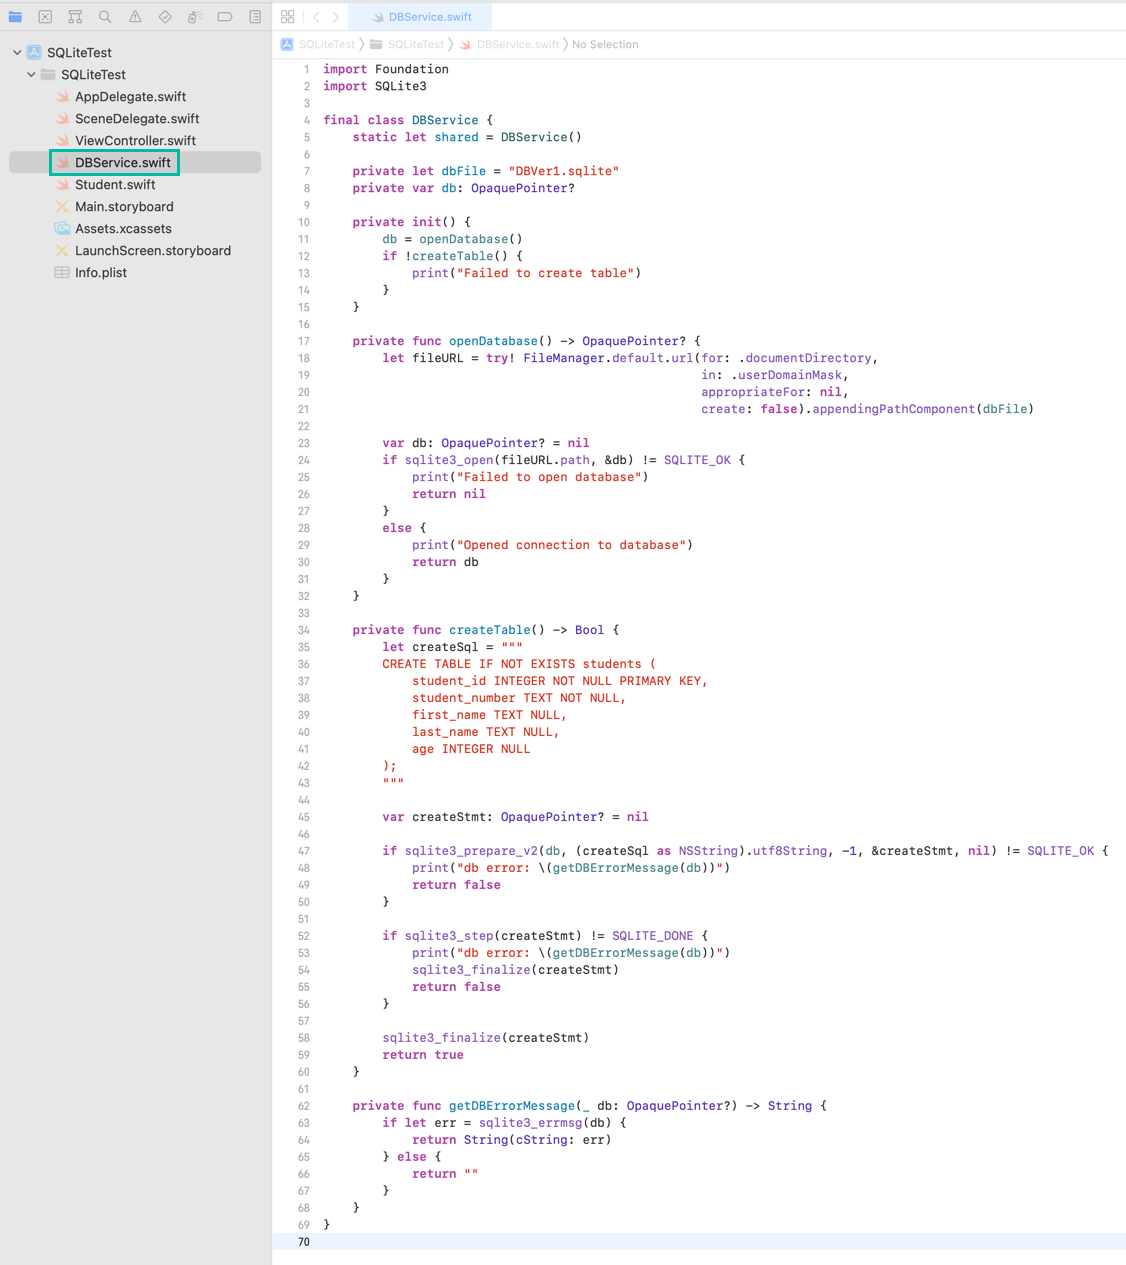
Let's walk through the code step by step.
In line 12, inside the initializer, we call createTable(). If it returns false, we print an error message.
Lines 34–63 define the createTable() function.
In lines 35–43, we define the SQL CREATE TABLE statement and assign it to createSql.
By using CREATE TABLE IF NOT EXISTS, the students table is only created if it does not already exist.
The columns are named to match the Student struct, with appropriate SQLite data types.
To execute a SQL statement in SQLite, it first needs to be compiled into bytecode using a preparation function. Here, we use sqlite3_prepare_v2() to compile the SQL statement.
int sqlite3_prepare_v2(
  sqlite3 *db,            /* Database handle */
  const char *zSql,       /* SQL statement, UTF-8 encoded */
  int nByte,              /* Maximum length of zSql in bytes. */
  sqlite3_stmt **ppStmt,  /* OUT: Statement handle */
  const char **pzTail     /* OUT: Pointer to unused portion of zSql */
);
In line 45, we define createStmt, an OpaquePointer? variable for the prepared statement handle.
In line 47, we call sqlite3_prepare_v2(), passing the database handle (db), the SQL statement converted to UTF-8, and &createStmt.
sqlite3_prepare_v2() returns SQLITE_OK on success, and an error code on failure. If it fails, we print the error message using getDBErrorMessage() and return false.
Now let's look at lines 62–68, which define the getDBErrorMessage() function.
We use sqlite3_errmsg() to retrieve the error message from the last failed API call. This function takes the database handle and returns a C string containing the error message.
getDBErrorMessage() converts the message into a Swift String and returns it.
Back in the createTable() function, lines 52–56 use sqlite3_step() to evaluate and execute the compiled SQL statement.
If successful, sqlite3_step() returns SQLITE_DONE. Otherwise, it prints the error message with getDBErrorMessage().
Before returning, we call sqlite3_finalize() to destroy the prepared statement object.
In lines 58–59, when execution succeeds, we still finalize the prepared statement with sqlite3_finalize() and then return true.
That's it! You've now created a SQLite table in Swift.
Next, we'll insert data into the SQLite table.