How to Create an App ID for Push Notifications
To implement Push Notifications in an iOS app, you need to create an App ID for the app in the Apple Developer portal.
In this article, we will explain how to create an App ID for an iOS app using an Apple Developer Program account.
To generate an App ID for an iOS app, you must be enrolled in the paid Apple Developer Program. For more details, see About the Apple Developer Program.
Set the Bundle Identifier in Xcode
The Bundle Identifier (Bundle ID) is the unique ID used by Apple to identify your app.
The Bundle Identifier must be unique, and the reverse domain style (com.domainname.appname) is recommended.
First, set the Bundle Identifier in Xcode for the iOS app that will receive Push Notifications.
Create a new project in Xcode by selecting [iOS] → [App].
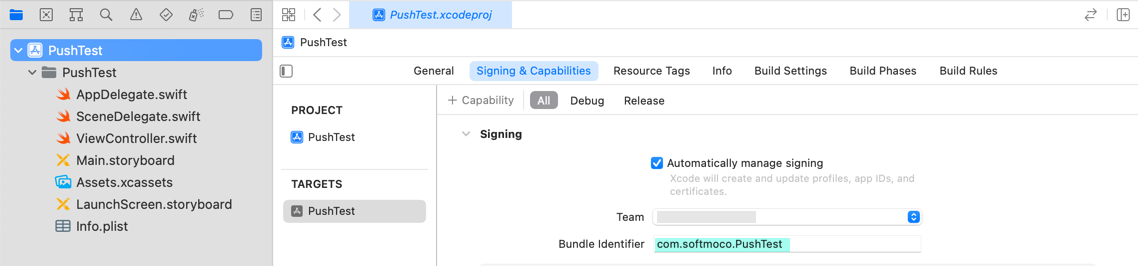
In the Navigator area, click the project name at the top, select the project under TARGETS, and then click the Signing & Capabilities tab.
Here, we set the Bundle Identifier to “com.softmoco.PushTest”.
Create an App ID for iOS in the Apple Developer Portal
Next, create an App ID for the iOS app that will receive Push Notifications.
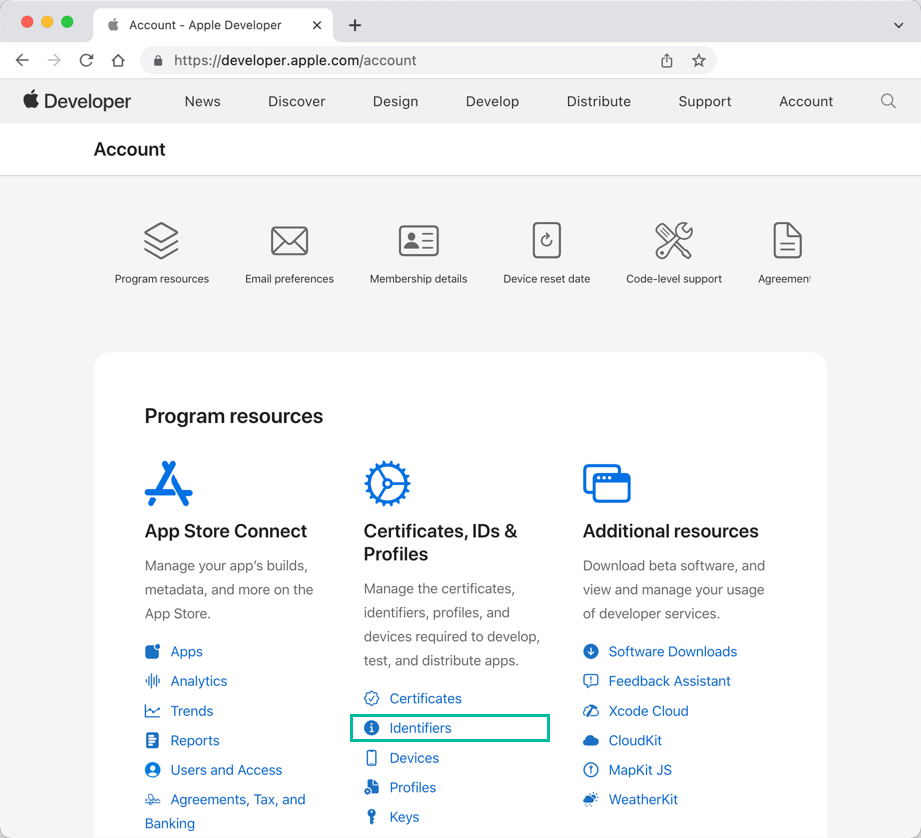
Log in to the Apple Developer site, go to Certificates, Identifiers & Profiles, and click Identifiers.
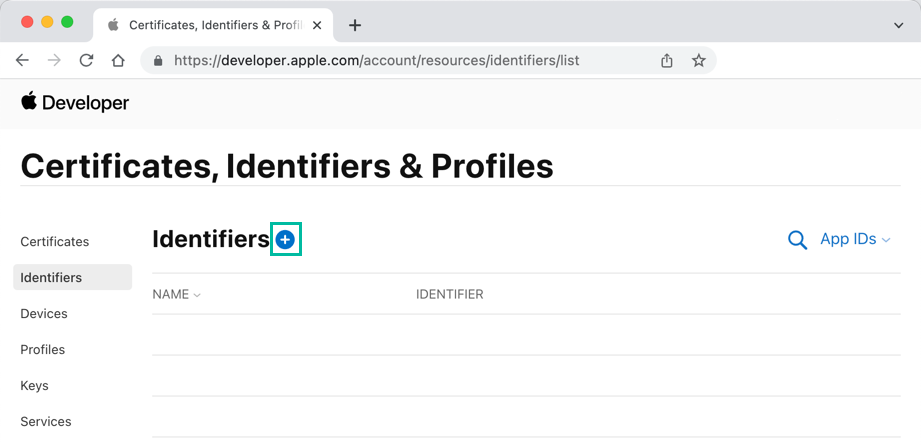
Click the + button next to Identifiers.
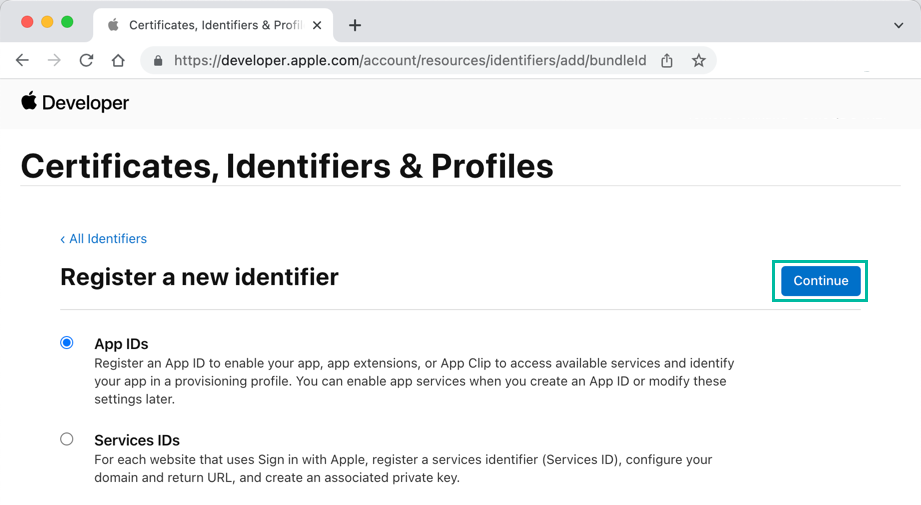
Select [App IDs] and click [Continue].
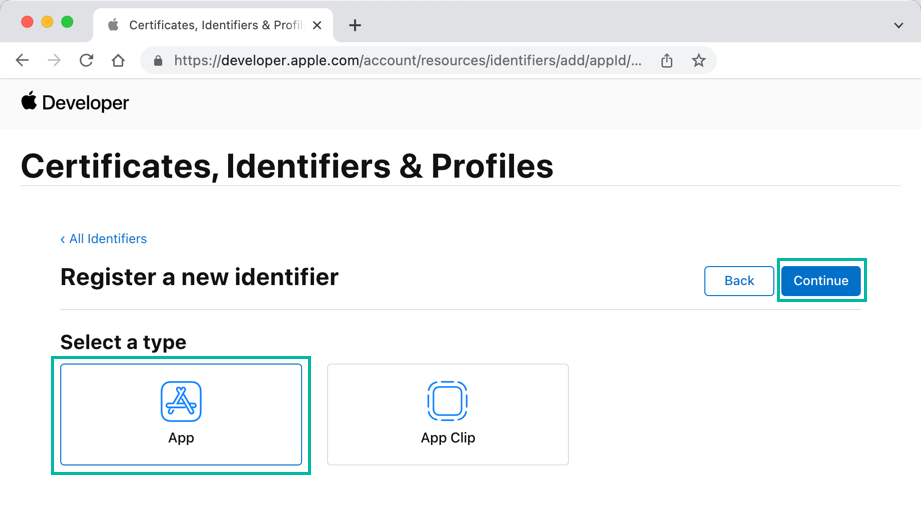
Select [App] and click [Continue].
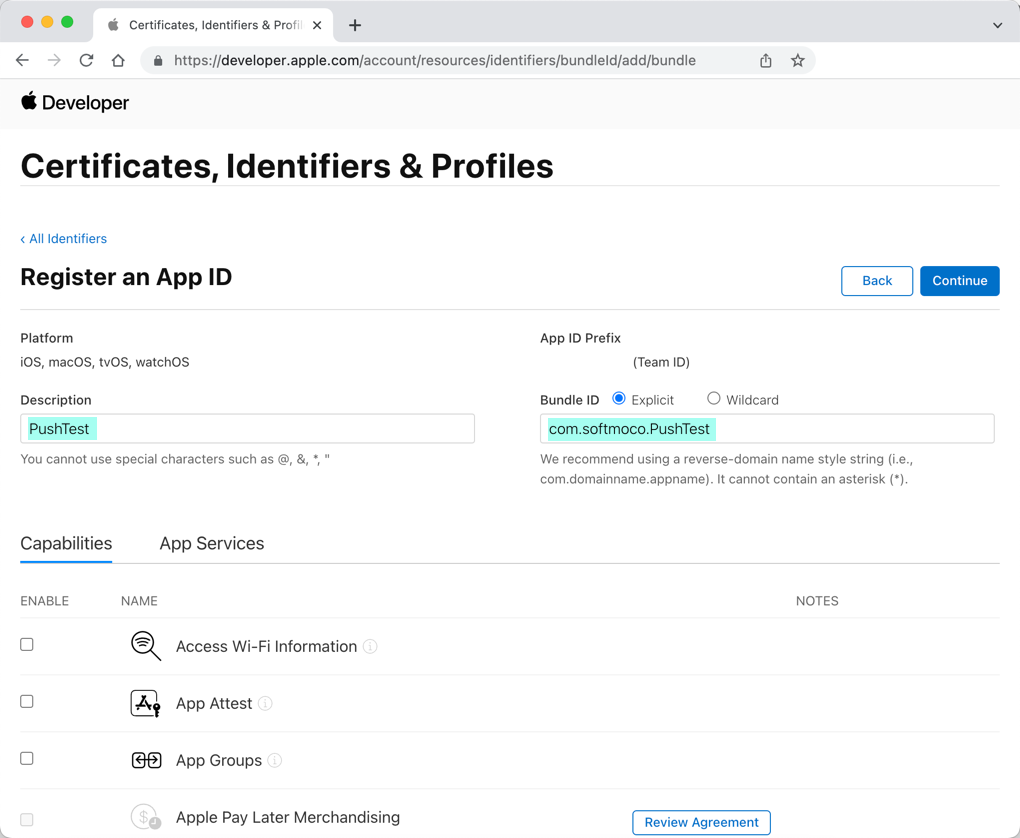
For [Description], enter any name you like. For [Bundle ID], choose Explicit and enter the exact same Bundle Identifier you set in Xcode.
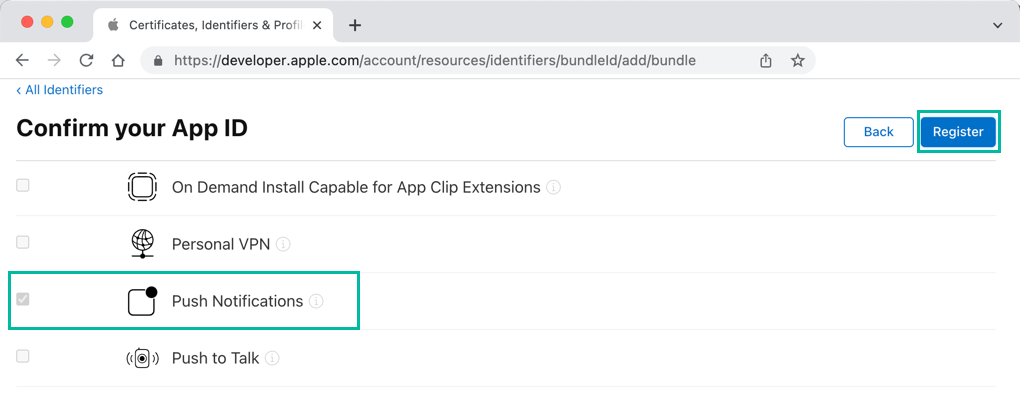
Under Capabilities, select Push Notifications and click [Continue].

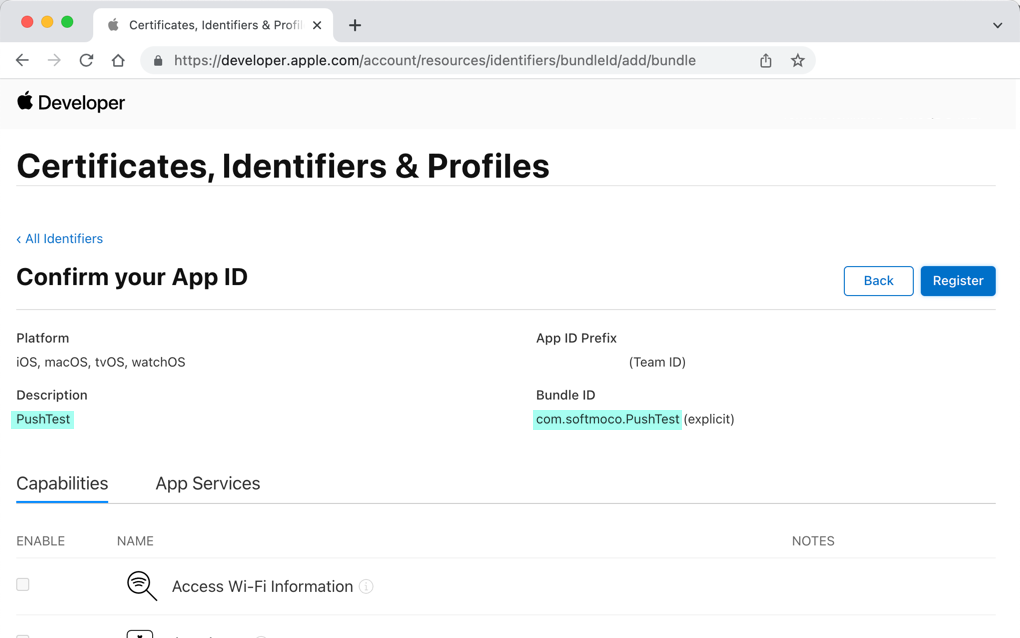
A confirmation screen will appear. Review the information and, if correct, click [Register].
This completes the registration of an App ID for your iOS app to receive Push Notifications.

That's all for how to create an App ID for Push Notifications in the Apple Developer Portal.