How to Add Your iOS App in App Store Connect
To distribute an iOS app with TestFlight, you need to add the app to App Store Connect before uploading it from Xcode.
This page explains how to add an app to App Store Connect using your Apple Developer Program account.
Before adding an app to App Store Connect, you must first create an App ID for your iOS app. If you haven't done this yet, please go back to the TestFlight distribution menu and complete it first.
App Store Connect is the web tool used to manage apps distributed via the App Store. To use App Store Connect, you must be enrolled in the paid Apple Developer Program. For details, see About the Apple Developer Program.
How to Add an App to App Store Connect
Now, let's go through the steps to add an app to App Store Connect.
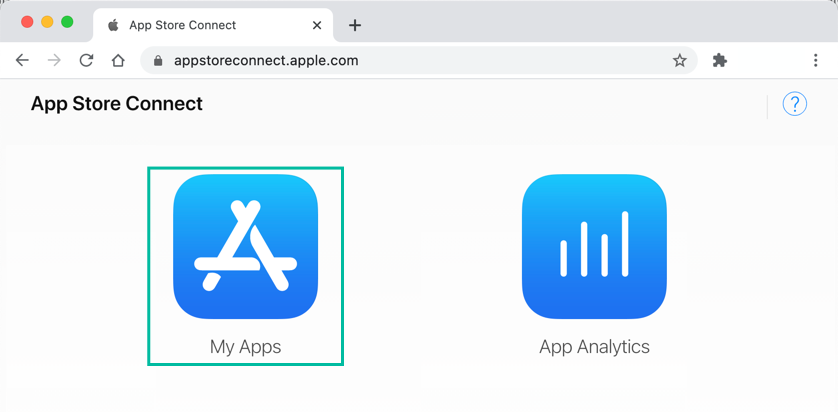
Log in to the App Store Connect site and click [My Apps].
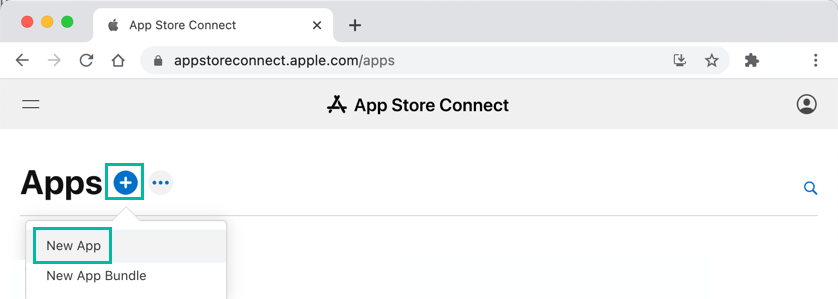
The Apps page will appear. Click the + button and select New App.
The New App screen will appear. Enter the app information and click [Create].
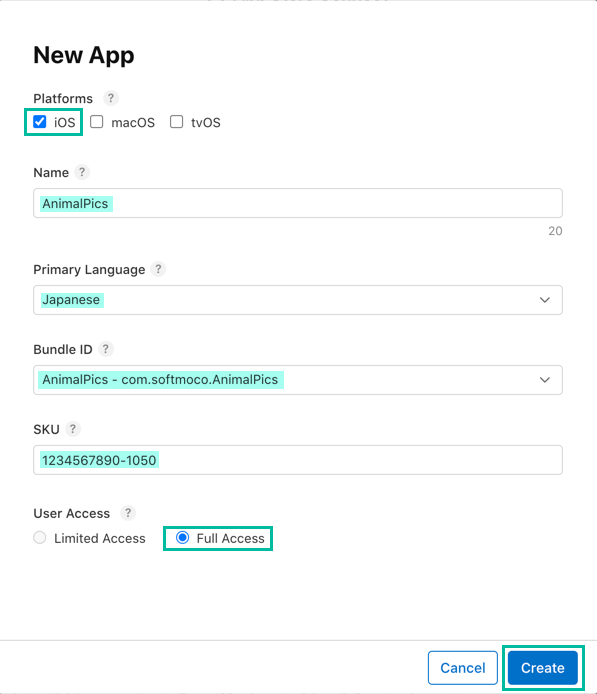
- Platforms: Select at least one platform for your app.
- Name: The app name (up to 30 characters). This name will appear in the App Store.
- Primary Language: The main language used in your app.
- Bundle ID: Must match the Bundle ID specified in Xcode.
- SKU: A unique ID to manage the app. This will not appear in the App Store, so you can choose freely.
- User Access: If you want to restrict which users can see the app in App Store Connect, choose Limited Access.
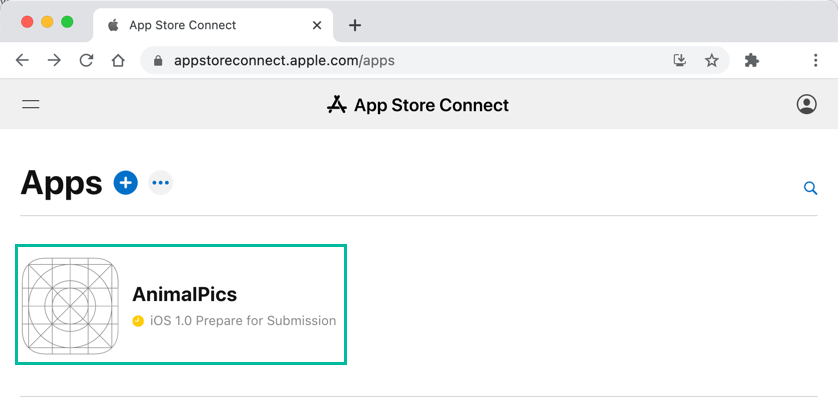
Your app is now added to App Store Connect and ready to be uploaded from Xcode.
That's it. You've now learned how to add an app to App Store Connect.