How to Create an Ad Hoc Provisioning Profile
How to Create a Provisioning Profile for Ad Hoc Distribution
To distribute an iOS app via Ad Hoc distribution, you need to create a Provisioning Profile specifically for Ad Hoc distribution.
This page explains how to generate an Ad Hoc Provisioning Profile using your Apple Developer Program account.
Before generating a Provisioning Profile, you must have already completed the following:
- Created a distribution certificate
- Created an App ID for your iOS app
- Registered the devices you want to distribute the app to
If you have not done these yet, go back to the Ad Hoc distribution guide and complete those steps first.
To create a Provisioning Profile for Ad Hoc distribution, you must be enrolled in the paid Apple Developer Program. For more details, see About the Apple Developer Program.
Create a Provisioning Profile for Ad Hoc Distribution
Let's go through the steps to create an Ad Hoc Provisioning Profile.
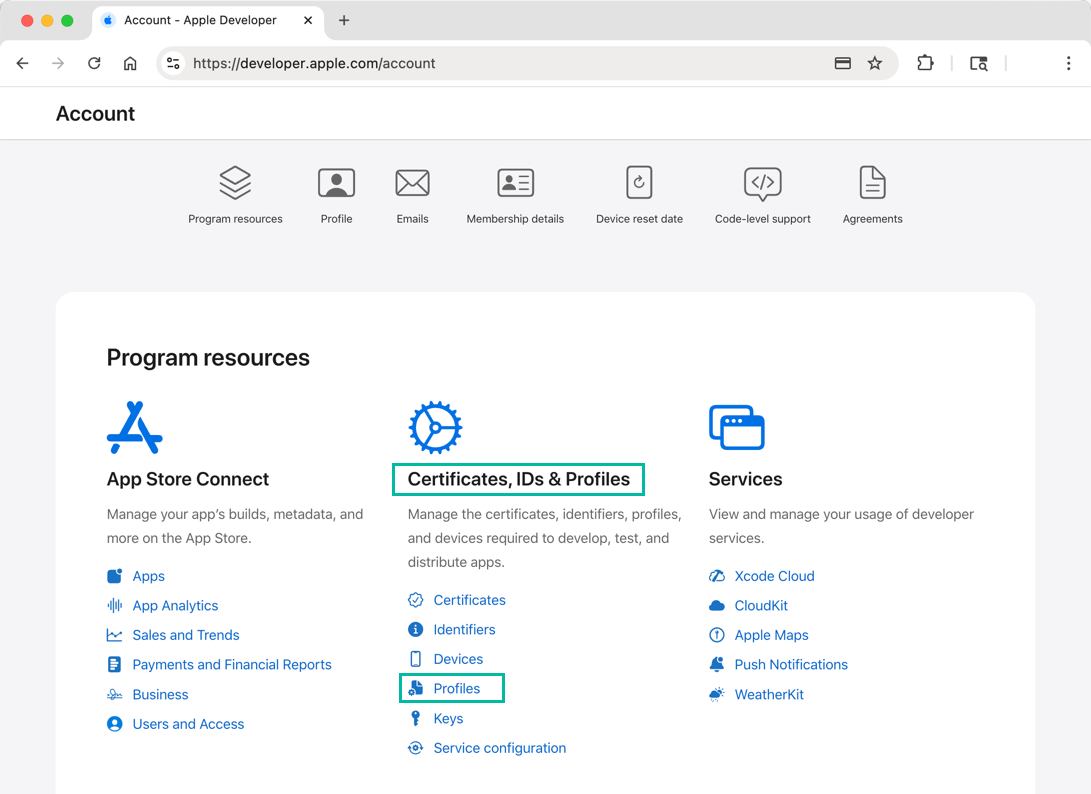
Log in to the Apple Developer site and click [Profiles] in the [Certificates, IDs & Profiles] section.
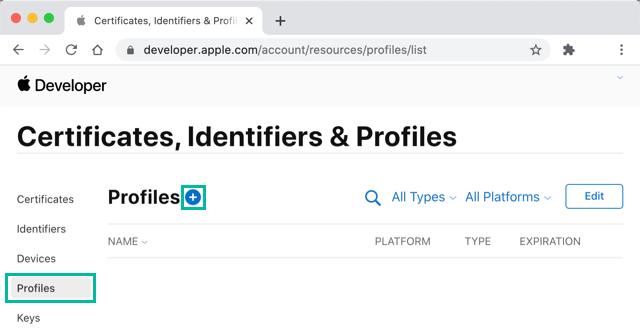
On the [Profiles] page, click the + button.
On the Register a New Provisioning Profile page, select Ad Hoc under Distribution and click [Continue].

On the Select an App ID page, choose the App ID of the iOS app you want to distribute and click [Continue].

Warning: include(../_adsense_ia-2.php): failed to open stream: No such file or directory in /hermes/walnacweb06/walnacweb06ae/b527/pow.itomoko/htdocs/ios/en/devenv/how-to-create-ios-provisioning-profile.php on line 79
Warning: include(): Failed opening '../_adsense_ia-2.php' for inclusion (include_path='.:/opt/alt/php74/usr/share/pear') in /hermes/walnacweb06/walnacweb06ae/b527/pow.itomoko/htdocs/ios/en/devenv/how-to-create-ios-provisioning-profile.php on line 79
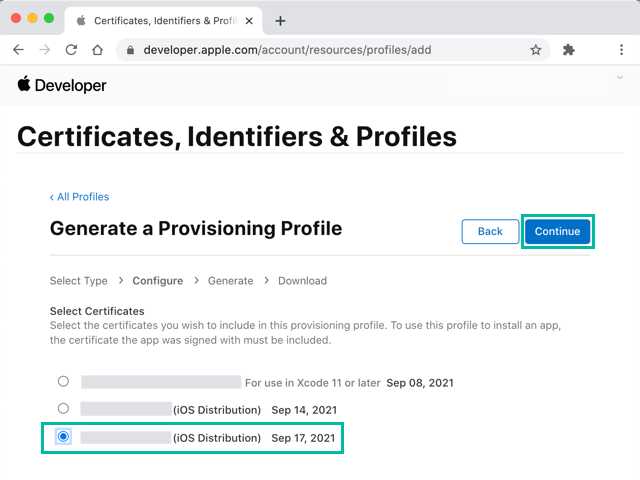
On the Select Certificates page, choose the Ad Hoc distribution certificate you generated earlier and click [Continue].
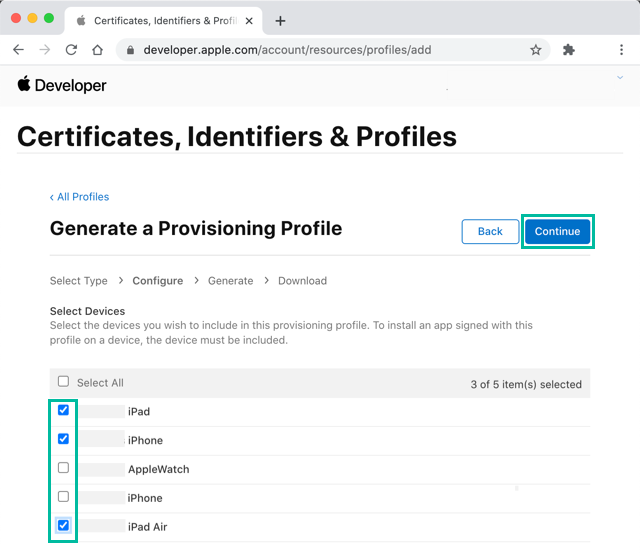
On the Select Devices page, select the devices you want to distribute your app to, then click [Continue].
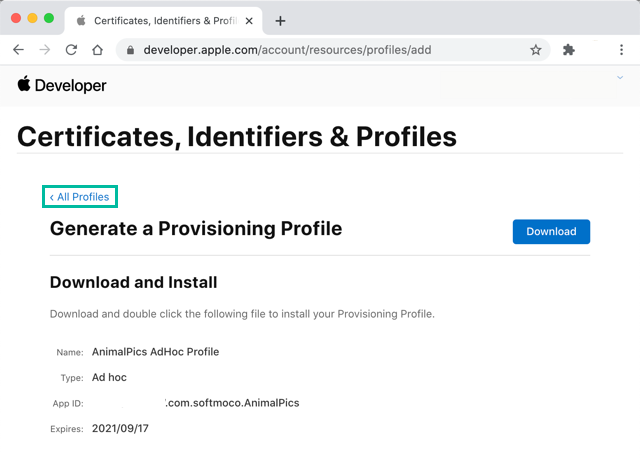
Enter a name of your choice in the Provisioning Profile Name field and click [Continue].

The download screen will appear, but since Xcode will handle downloading the profile, you don't need to download it manually here. Just click [All Profiles].
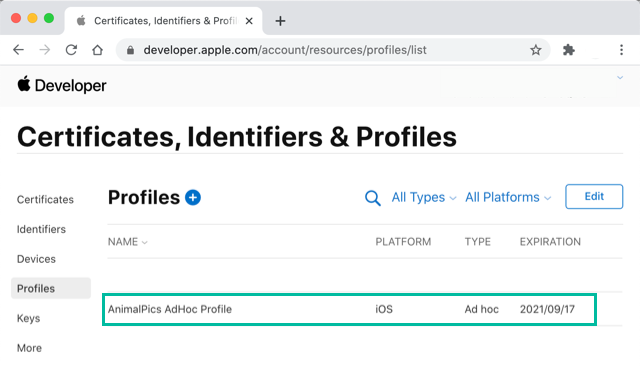
You've now successfully created a Provisioning Profile for Ad Hoc distribution.
That's it! You have now learned how to generate an Ad Hoc Provisioning Profile with your Apple Developer Program account.