How to Add a Build Configuration in Xcode
When developing a system, you may want to use different settings depending on the environment when deploying your program to QA or production.
In this article, we’ll explain how to add Build Configurations in Xcode to manage environment-specific settings.
How to Add a Build Configuration in Xcode
A build configuration is a collection of settings used when building in Xcode.
When you create a new project in Xcode, two configurations are generated by default: Debug and Release.
To check this, open your project in Xcode, click the project name at the top of the navigator area on the left, select the project name under PROJECT, and then check the Configurations section under the Info tab.

Let’s create Debug and Release configurations for Development, QA, and Production environments.
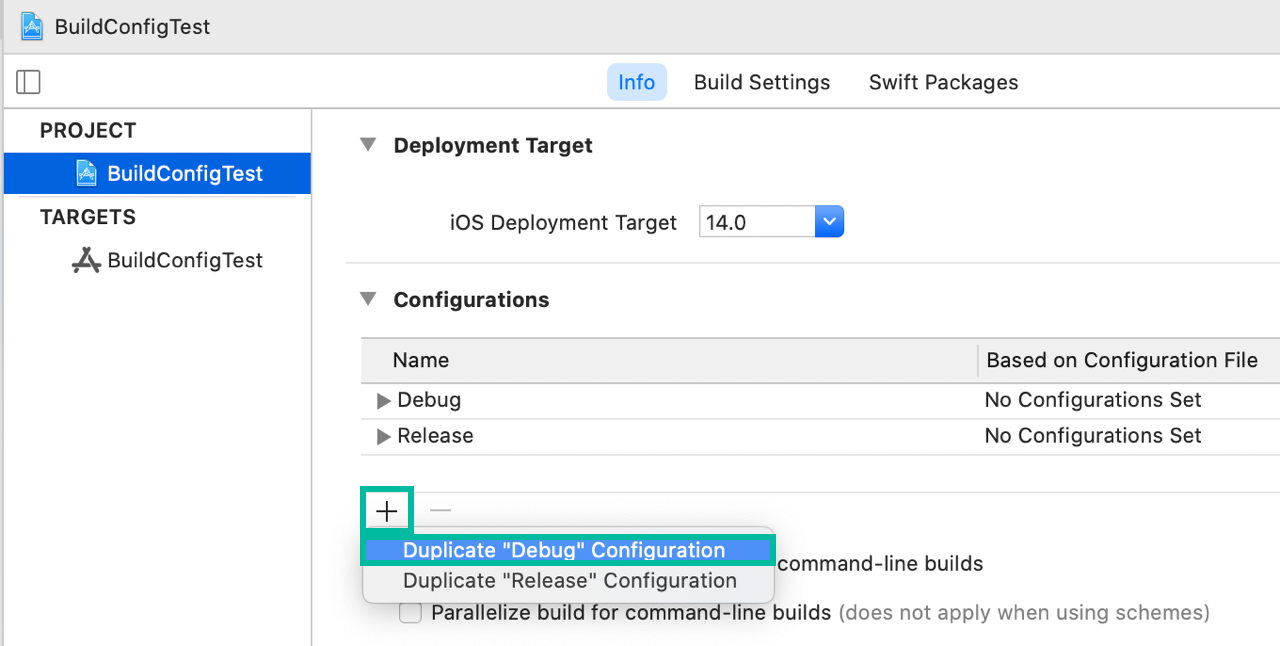
In the Configurations section, click the + button and select [Duplicate "Debug" Configuration].
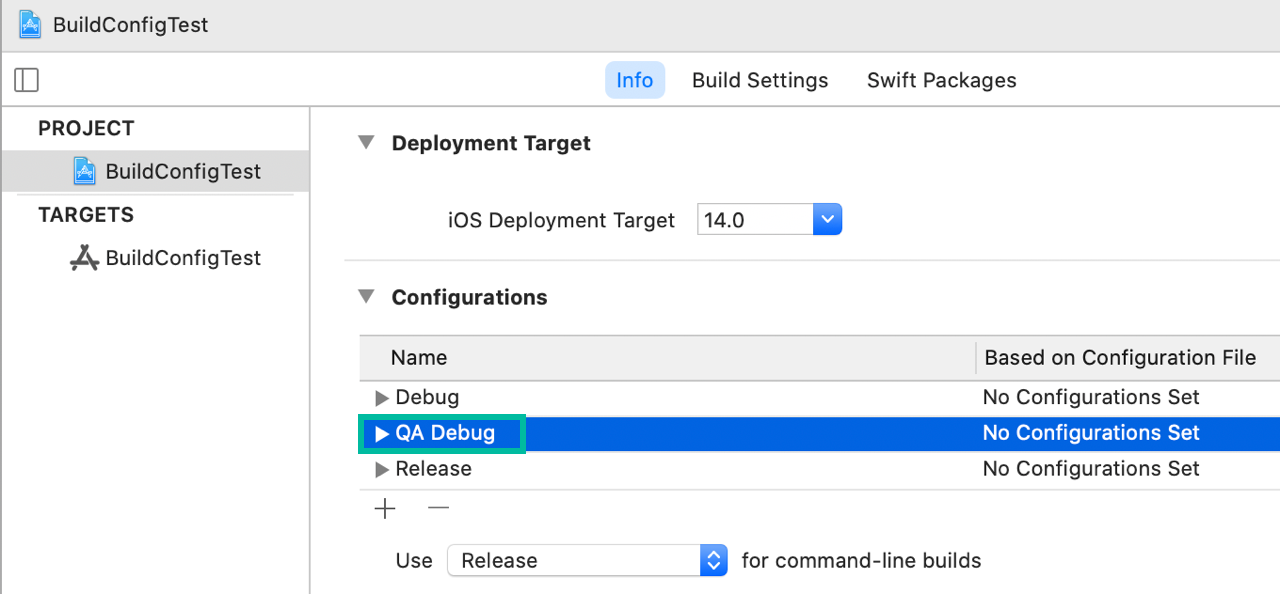
A new row will be inserted. Change its Name to QA Debug.
Next, in the Configurations section, click the + button again and this time select [Duplicate "Release" Configuration].
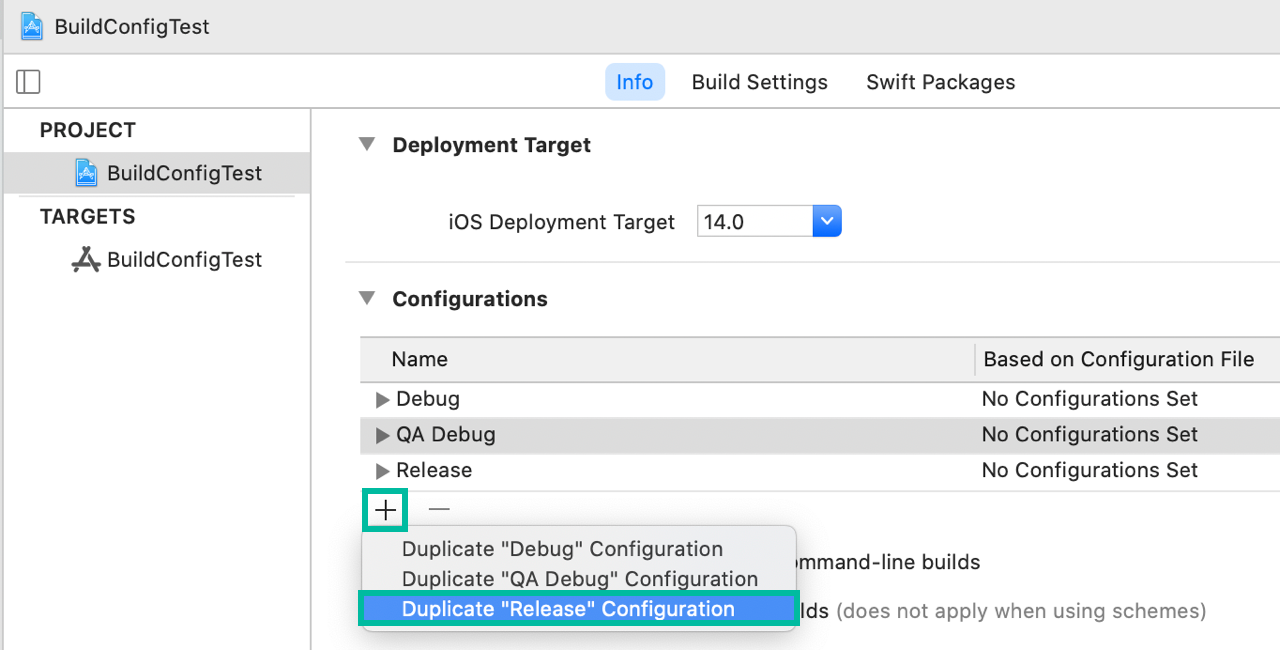
A new row will be inserted. Change its Name to QA Release.

Repeat the same steps to add Debug and Release configurations for the Production environment.
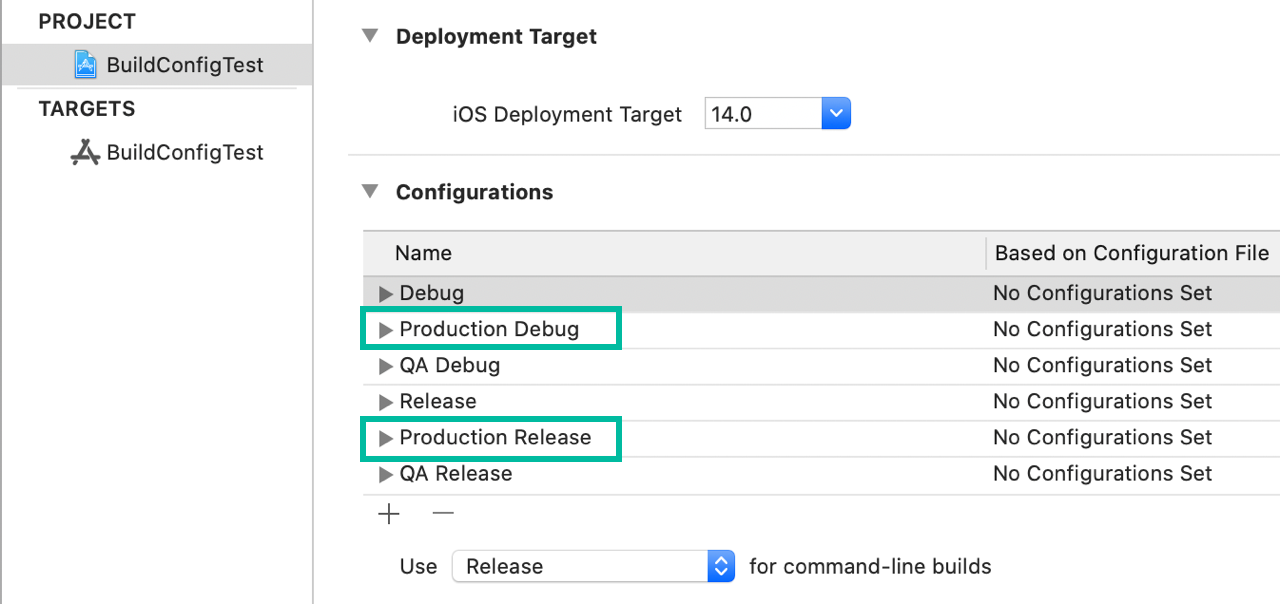
Finally, rename the original Debug and Release to Development Debug and Development Release.
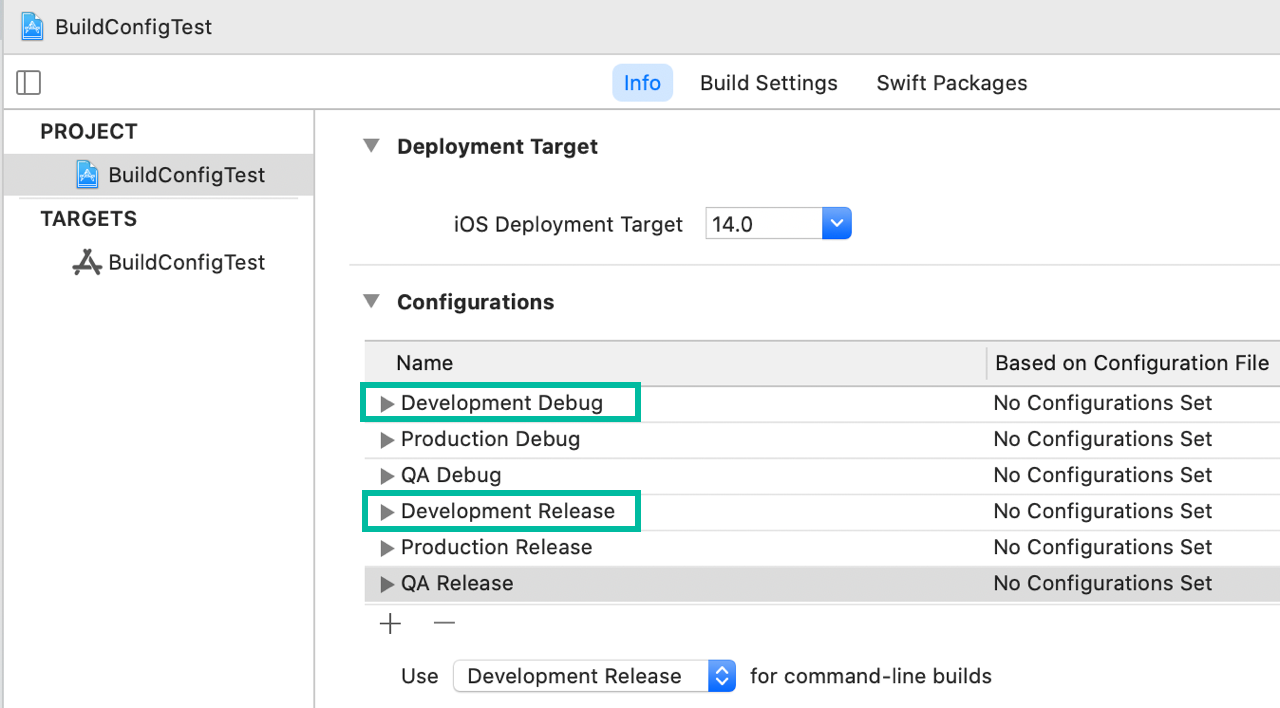
Now you have Debug and Release configurations for each environment: Development, QA, and Production.
The names of the configurations can be customized. If you don’t need to separate Debug and Release settings (e.g., for Run and Archive) within the same environment, you can simply create one configuration per environment.
That’s how to add Build Configurations in Xcode to manage environment-specific settings.