curl を使って Push Notification(プッシュ通知)を送信する方法
Push Notification(プッシュ通知)を送信するには、Apple Push Notification service (APNs) に TTP/2 と TLS 1.2 以降で接続して Post リクエストを送ります。
Post するのに何を使って実装しても良いですが、ここではテストのために開発用の Mac のコマンドラインから curl を使ってプッシュ通知を送信する方法をご説明します。
まだ、Apple Push Notification service 証明書の生成・インストールや、プッシュ通知を受信する iOS アプリを生成していない方は「Push Notification(プッシュ通知)を実装する方法」をご参考に、済ませておいてください。
証明書から p12 ファイルをエクスポートし pem ファイルに変換する
Push Notification(プッシュ通知)を送信するには証明書ベースかトークンベースの認証を使う必要があります。
今回は証明書ベースの認証で送信します。
curl で Push Notification(プッシュ通知)を送信するには pem フォーマットの証明書が必要です。
まず「Apple Push Notification service 証明書を生成する」で生成して Mac にインストールした証明書から p12 ファイルをエクスポートします。
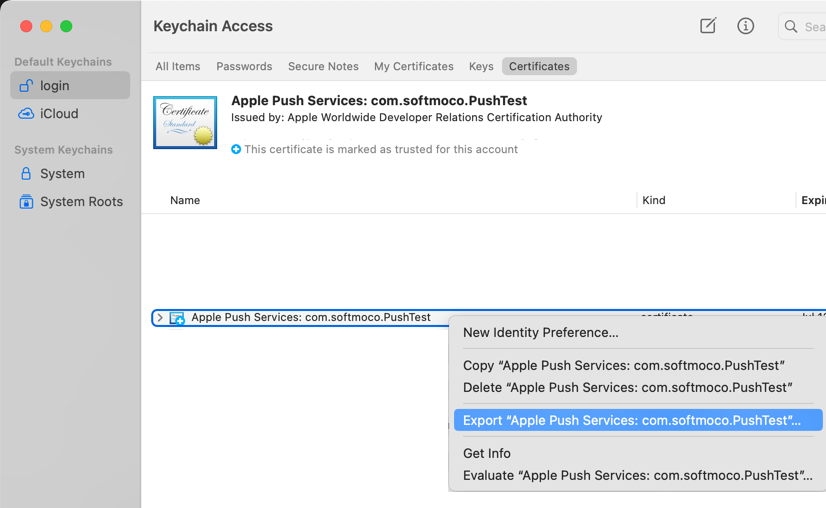
キーチェーンアクセスでインストールした Apple Push Notification service 証明書を選択して右クリックし、Export ... を選択します。
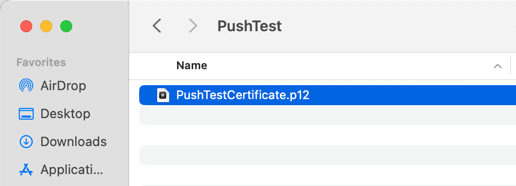
p12 ファイル形式で保存します。ここでは PushTestCertificate.p12 という名前にしました。

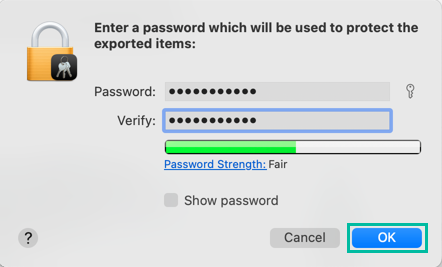
パスワードを入力して OK をクリックします。
Apple Push Notification service 証明書の p12 ファイルがエクスポートできました。
保存した p12 ファイルを Mac のターミナルで OpenSSL を使って、以下のコマンドで pem ファイルに変換します。
openssl pkcs12 -in PushTestCertificate.p12 -out PushTestCertificate.pem -nodes -clcertsImport Password を聞かれるので、先ほどエクスポートする際に入力したパスワードを入力します。
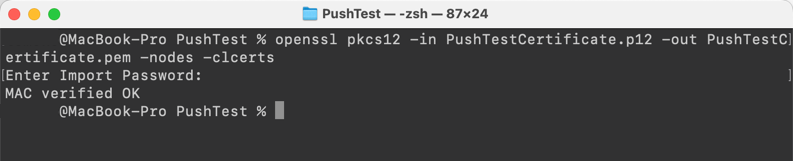
これで、p12 ファイルから pem ファイルを生成できました。
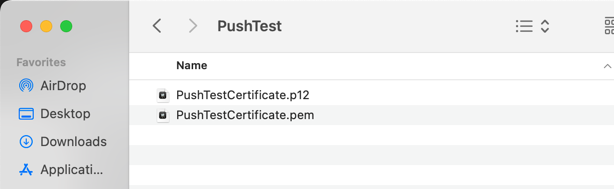
curl を使って Push Notification(プッシュ通知)を送信する
curl はデータの送受信ができるコマンドラインツールです。
curl を使って Push Notification(プッシュ通知)を送信するには、以下のようにできます。
curl -E "[pem ファイルへのパス]" -H "apns-topic: [Bundle Identifier]" -d '[プッシュ通知の payload]' --http2 https://api.sandbox.push.apple.com:443/3/device/[device token]-E オプションは証明書、-H オプションは追加のヘッダー、-d オプションは post するデータです。
--http2 オプションで HTTP version 2 を使うように指定しています。
URL は以下の APNs サーバの URL に加えて /3/device/[device token] になります。
現在のAPNsのサーバは以下の通りです。
- Development server: api.sandbox.push.apple.com:443
- Production server: api.push.apple.com:443
デバイストークンは「Push Notification(プッシュ通知)を受信する iOS アプリを作る」で取得したものを使います。
pem ファイルは先ほど生成した PushTestCertificate.pem へのパスを指定します。
ヘッダーには apns-topic キーの値として「Xcode で Bundle Identifier を設定する」で設定した Bundle Identifier (com.softmoco.PushTest) を指定します。
プッシュ通知の payload は今回は次のものを送信します。
{
  "aps": {
    "alert": "Softmoco Push Notification Test 123!!",
    "sound": "default",
    "badge": 1
  }
}
それでは、実際にプッシュ通知を送ってみます。 以下のコマンドを Mac ターミナルで実行します。
curl -E "/Users/user1/Desktop/PushTest/PushTestCertificate.pem" -H "apns-topic: com.softmoco.PushTest" -d '{"aps":{"alert":"Softmoco Push Notification Test 123!!","sound":"default","badge":1}}' --http2 https://api.sandbox.push.apple.com:443/3/device/xxxxxxxxxxxxxxxxxxxxxxxxxxxxxxxxxxxxxxxxxxxxxxxxxxxxxxxxxxxxxxx
Push Notification(プッシュ通知)をこちらで作成した PushTest (com.softmoco.PushTest) の iOS アプリで受信できました。

以上、curl を使って Push Notification(プッシュ通知)を送信する方法をご説明しました。